Featured Business: Social & Creative

Featured Business: Social & Creative

Check out Social & Creative at: 

INTRODUCING …

Social & Creative Styled Stock Photography Logo

Social & Creative Headshot
Lets get personal. Tell us about you.
Do you have kids? Where are you from? What is your career history? What’s one thing people would be surprised to learn about you?  

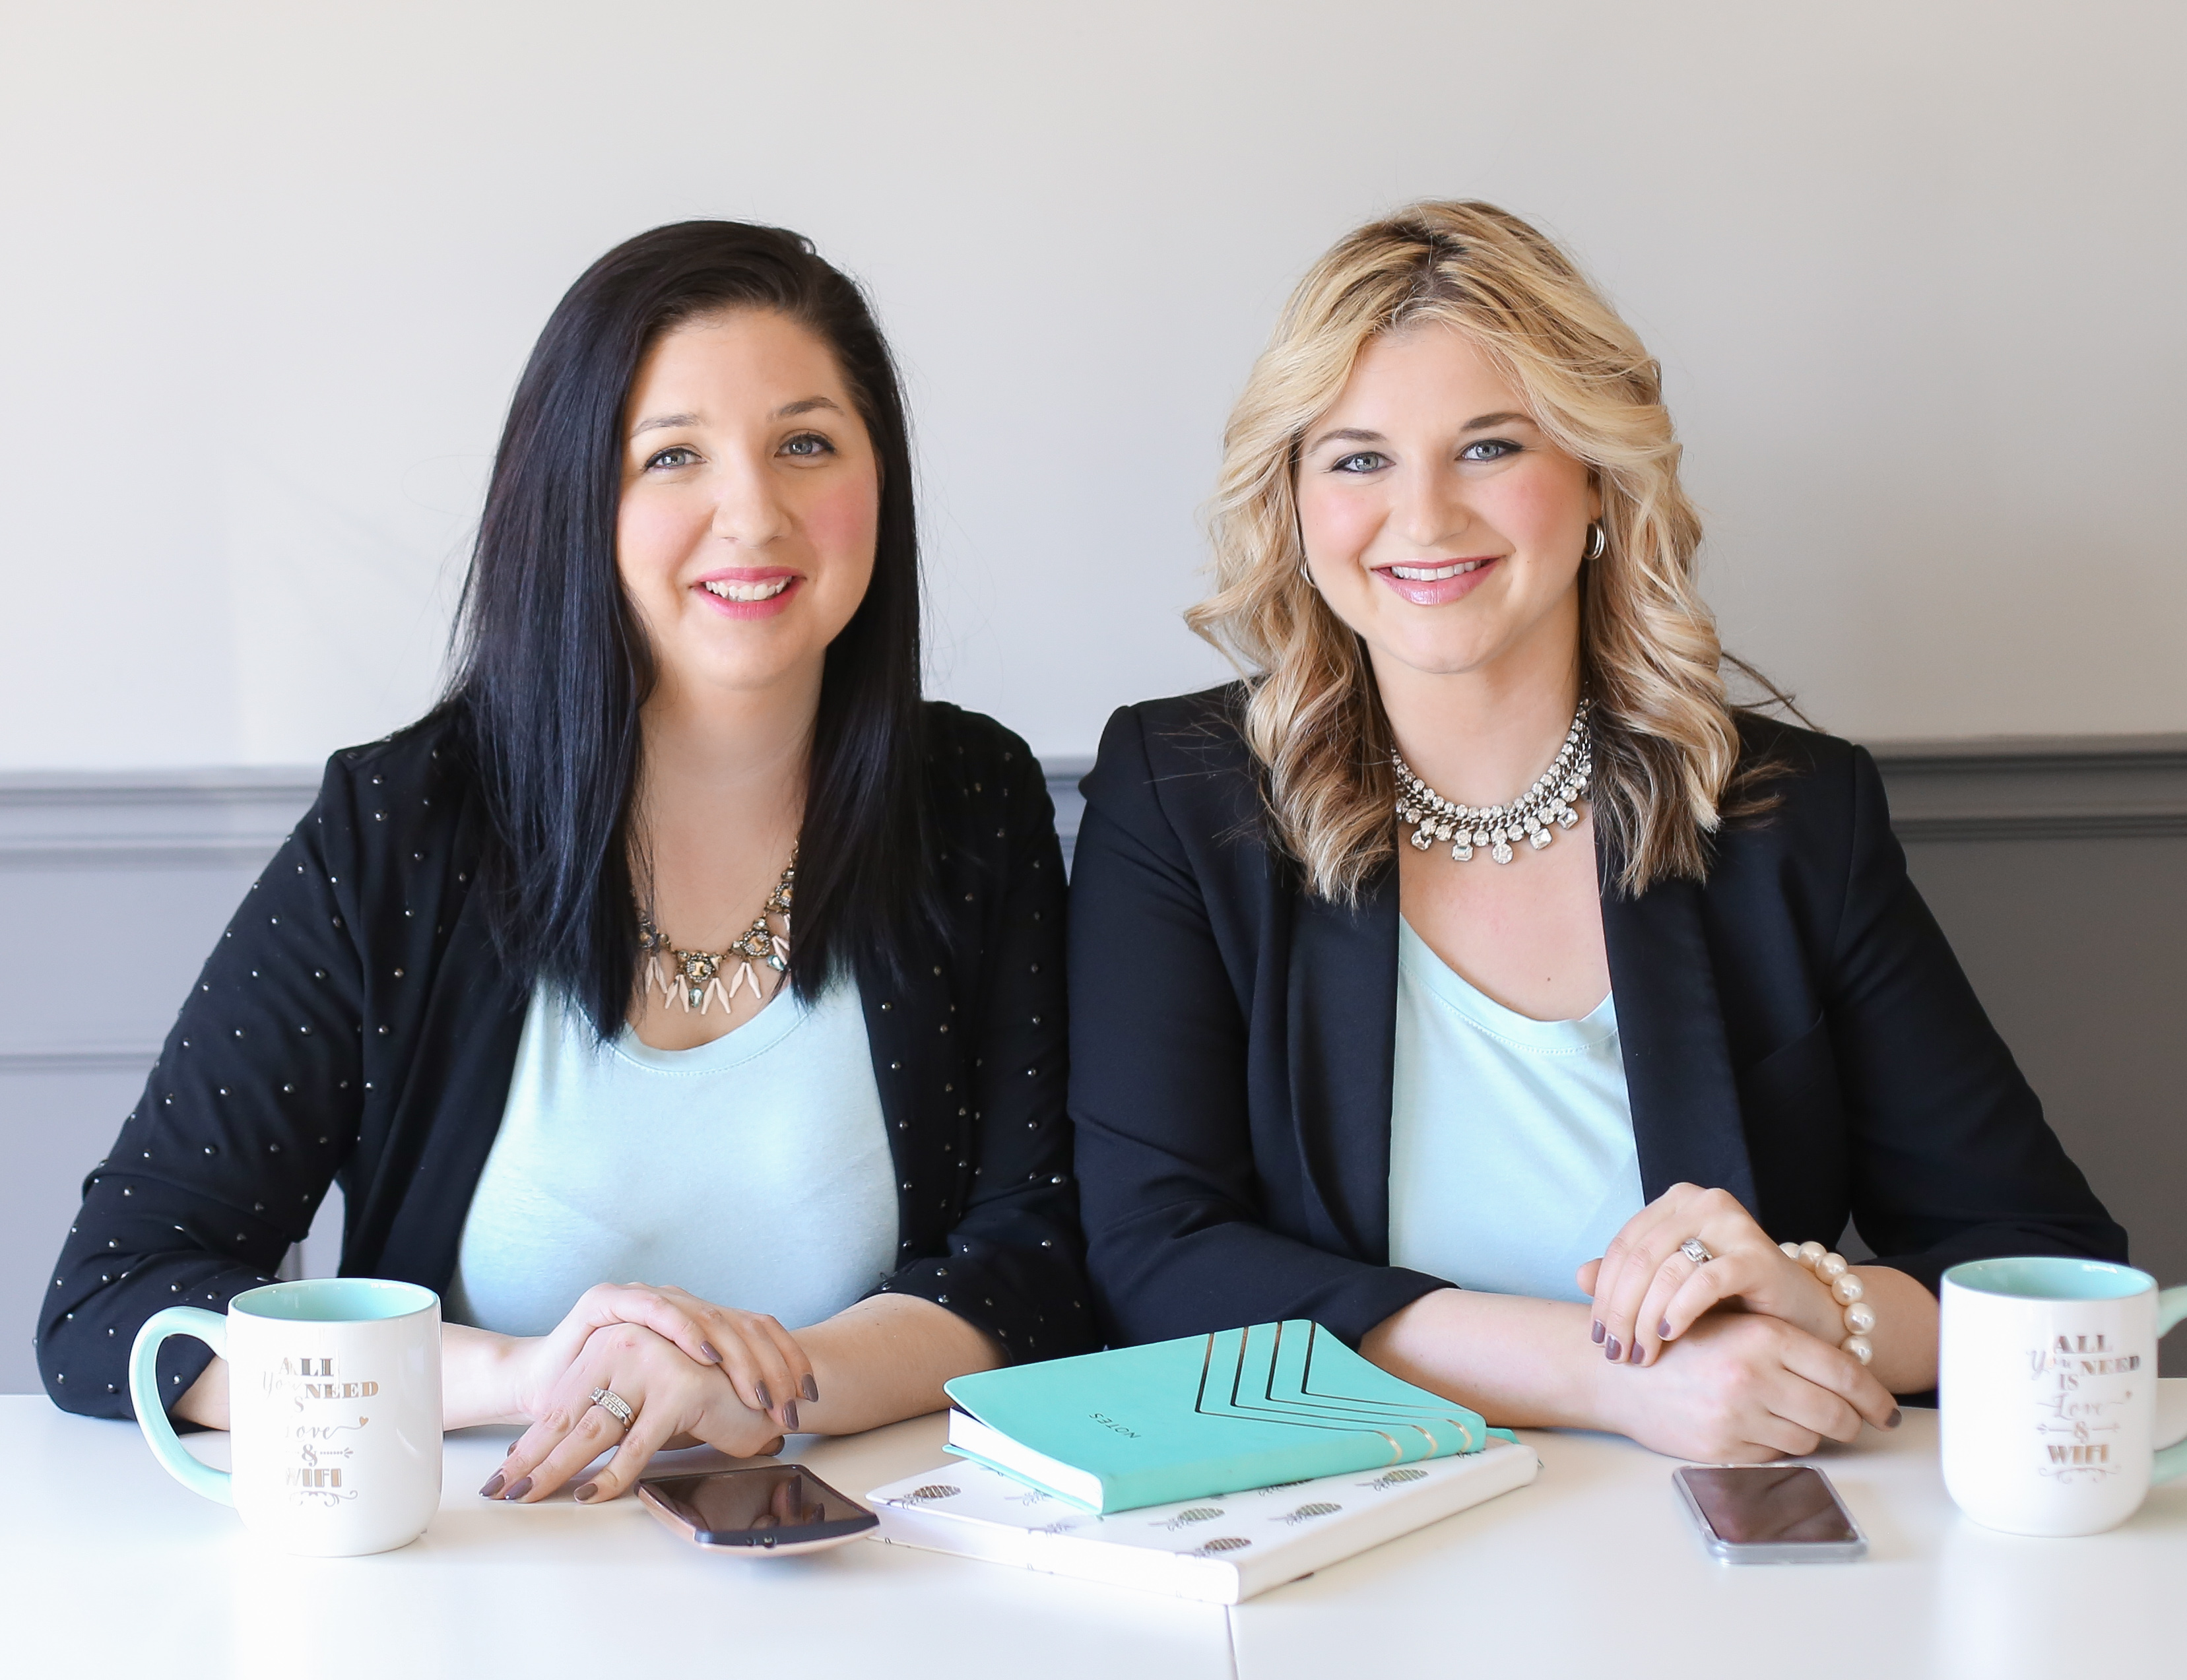
Social & Creative is co-owned by myself (Erin) and my business partner (Ania) – we actually attended college together about 10 years ago – we both studied Journalism, we joined Facebook together, ate the greasiest foods daily and basically carried each other through college. Then life happened! We lost touch. Over that time we both got married and had kids. Ania has twin 2 year old boys and I have a 6 year old daughter and a 4 year old son. Ania and I are Canadians living just outside of Toronto.


What inspired you to go into your line of business?
Is there an interesting story behind how you ended up where you are?

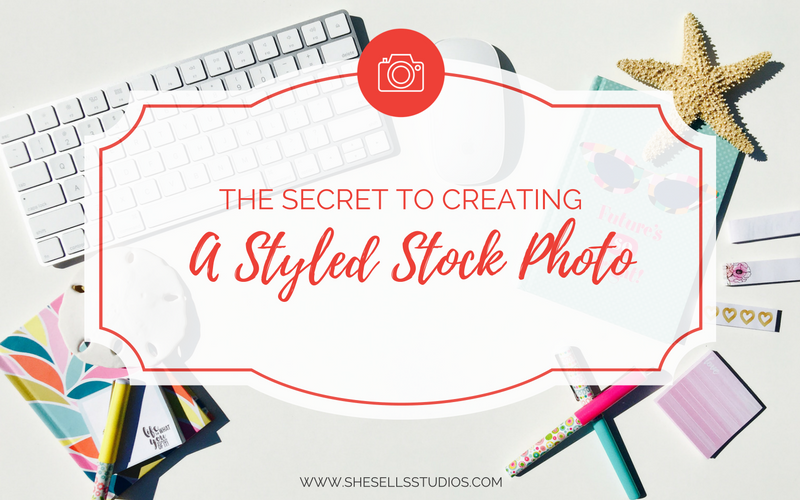
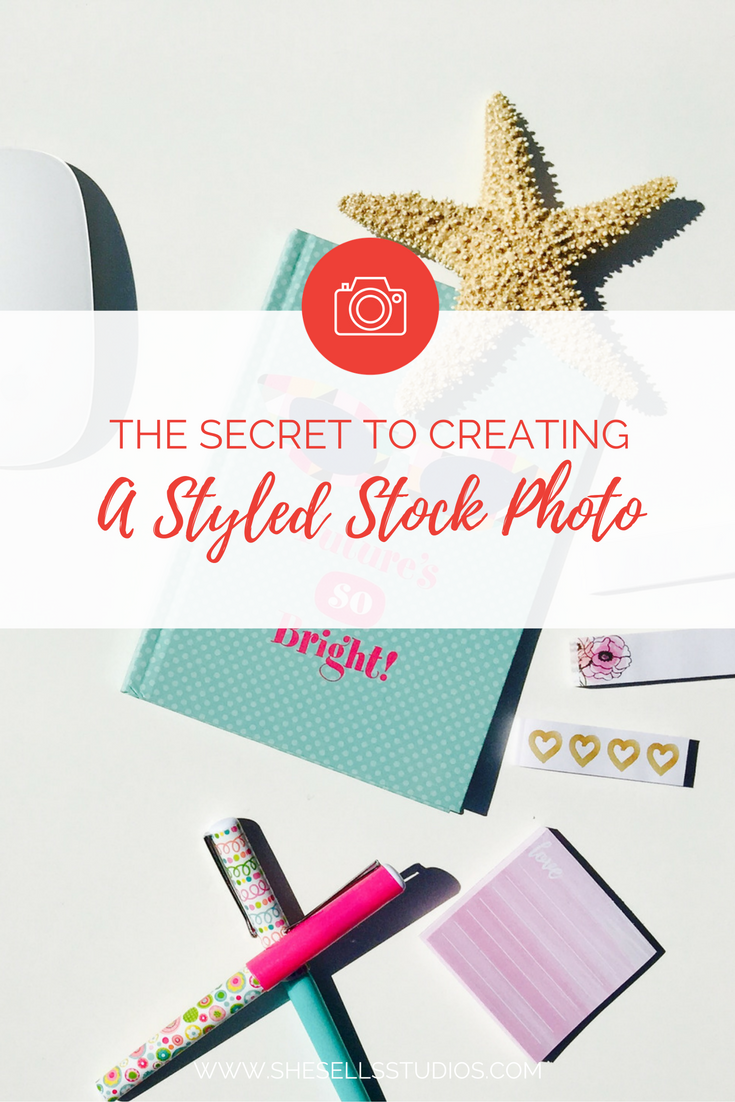
There isn’t really this big story or super interesting event that caused us to go into business. Ania and I reconnected on Facebook and then met for coffee. I had wanted to start a second business doing styled stock photography. However, I am NOT a photographer. I was excited to learn that Ania had been pursuing a career as a family and newborn photographer, so I asked her about doing it. She was on board and the rest is history.


Tell us about your business.
How long have you been in business? What do you sell/offer? What makes you unique?

We are fresh into our business! We started the planning process for Social & Creative back in February of this year (2017). Then we started our social media channels a couple weeks later and secured some great marketing plans – we were featured in the March box of Sparkle Hustle Grow and will be doing some guest posts. Social & Creative offically launched on May 1st, 2017.

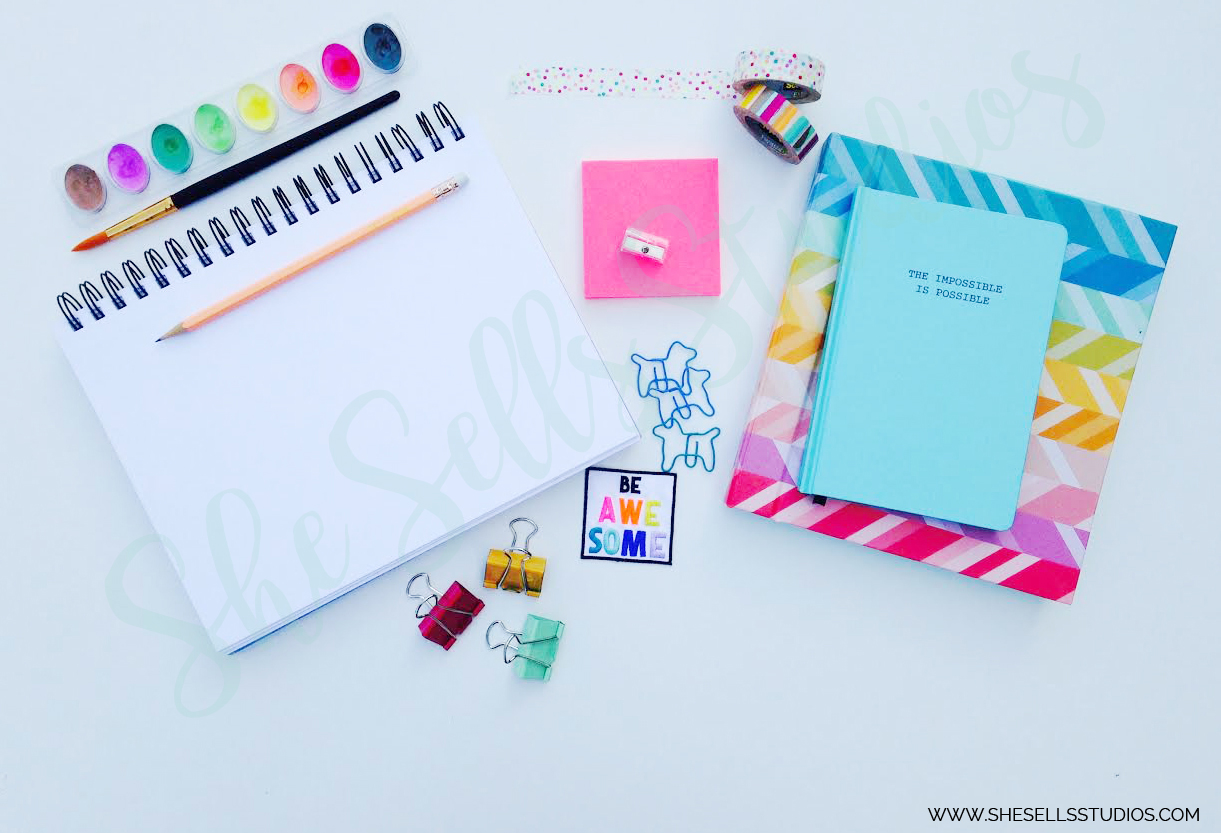
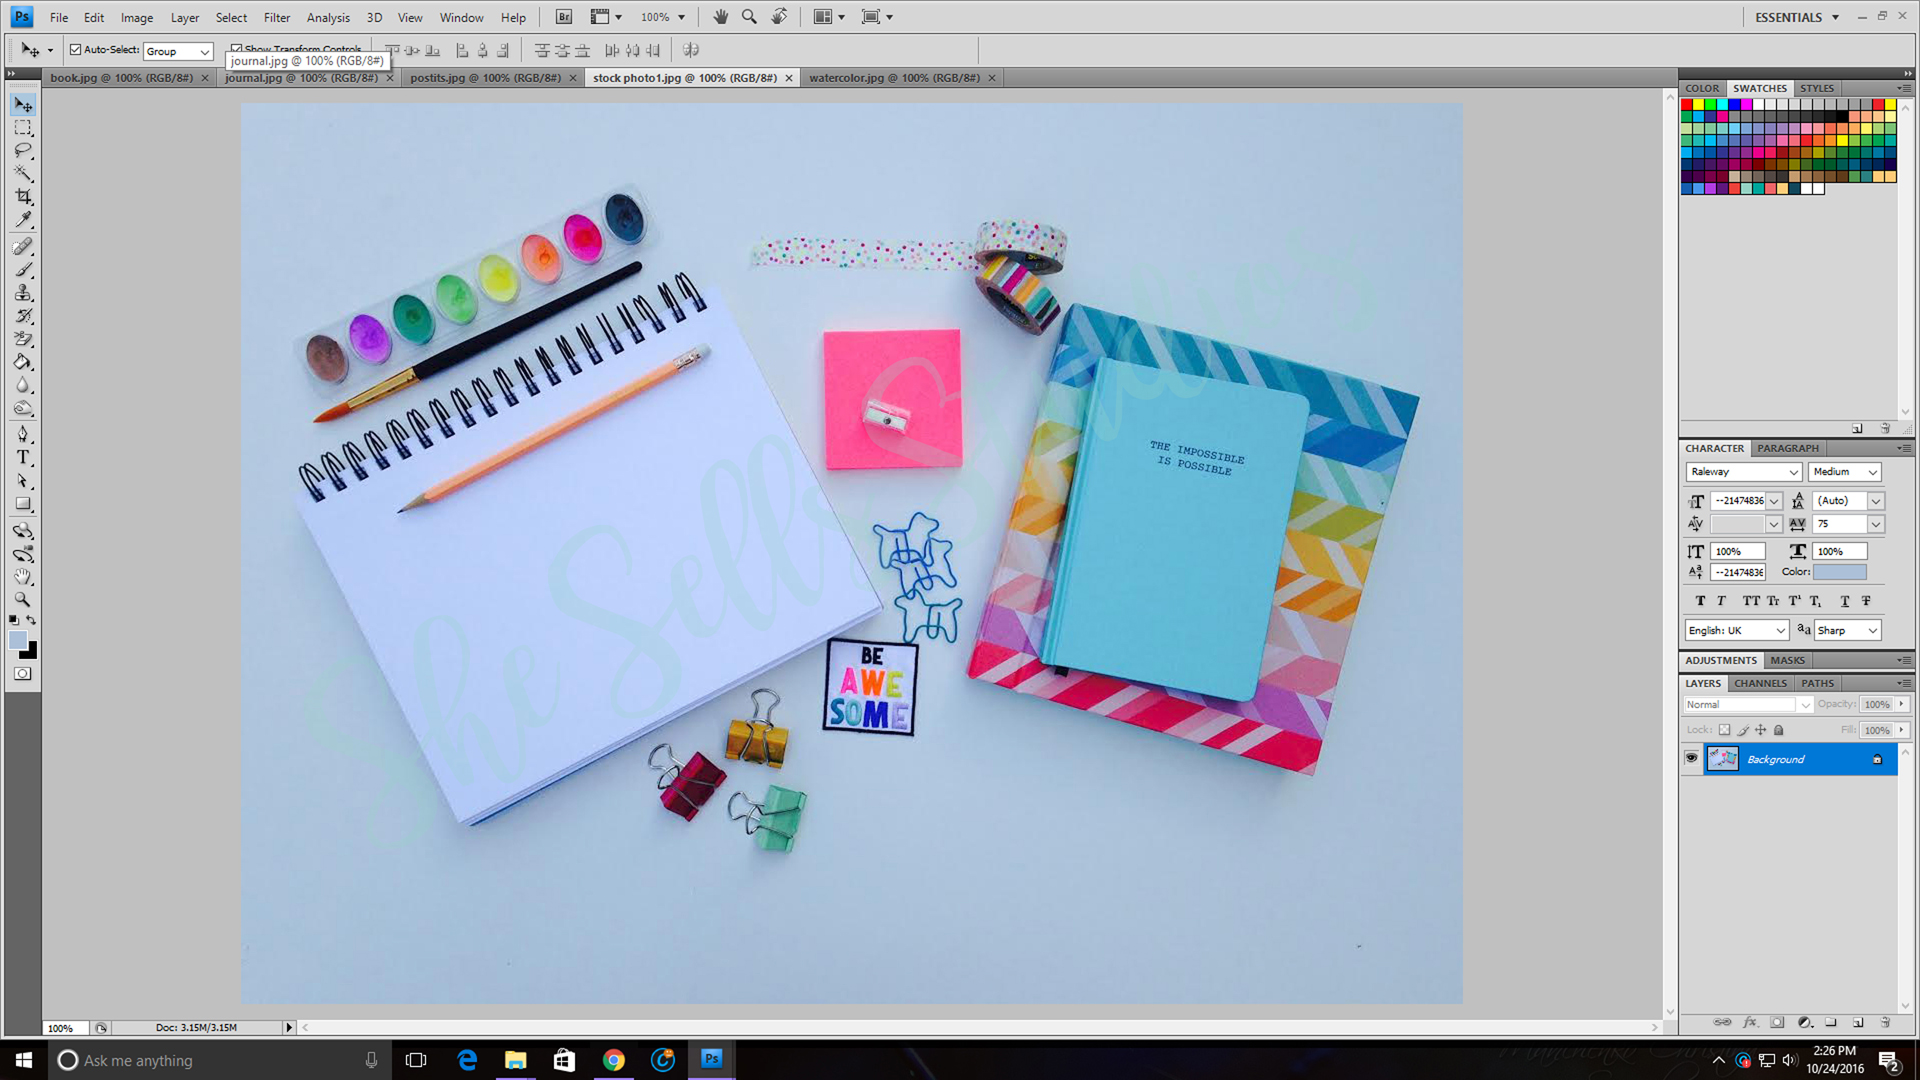
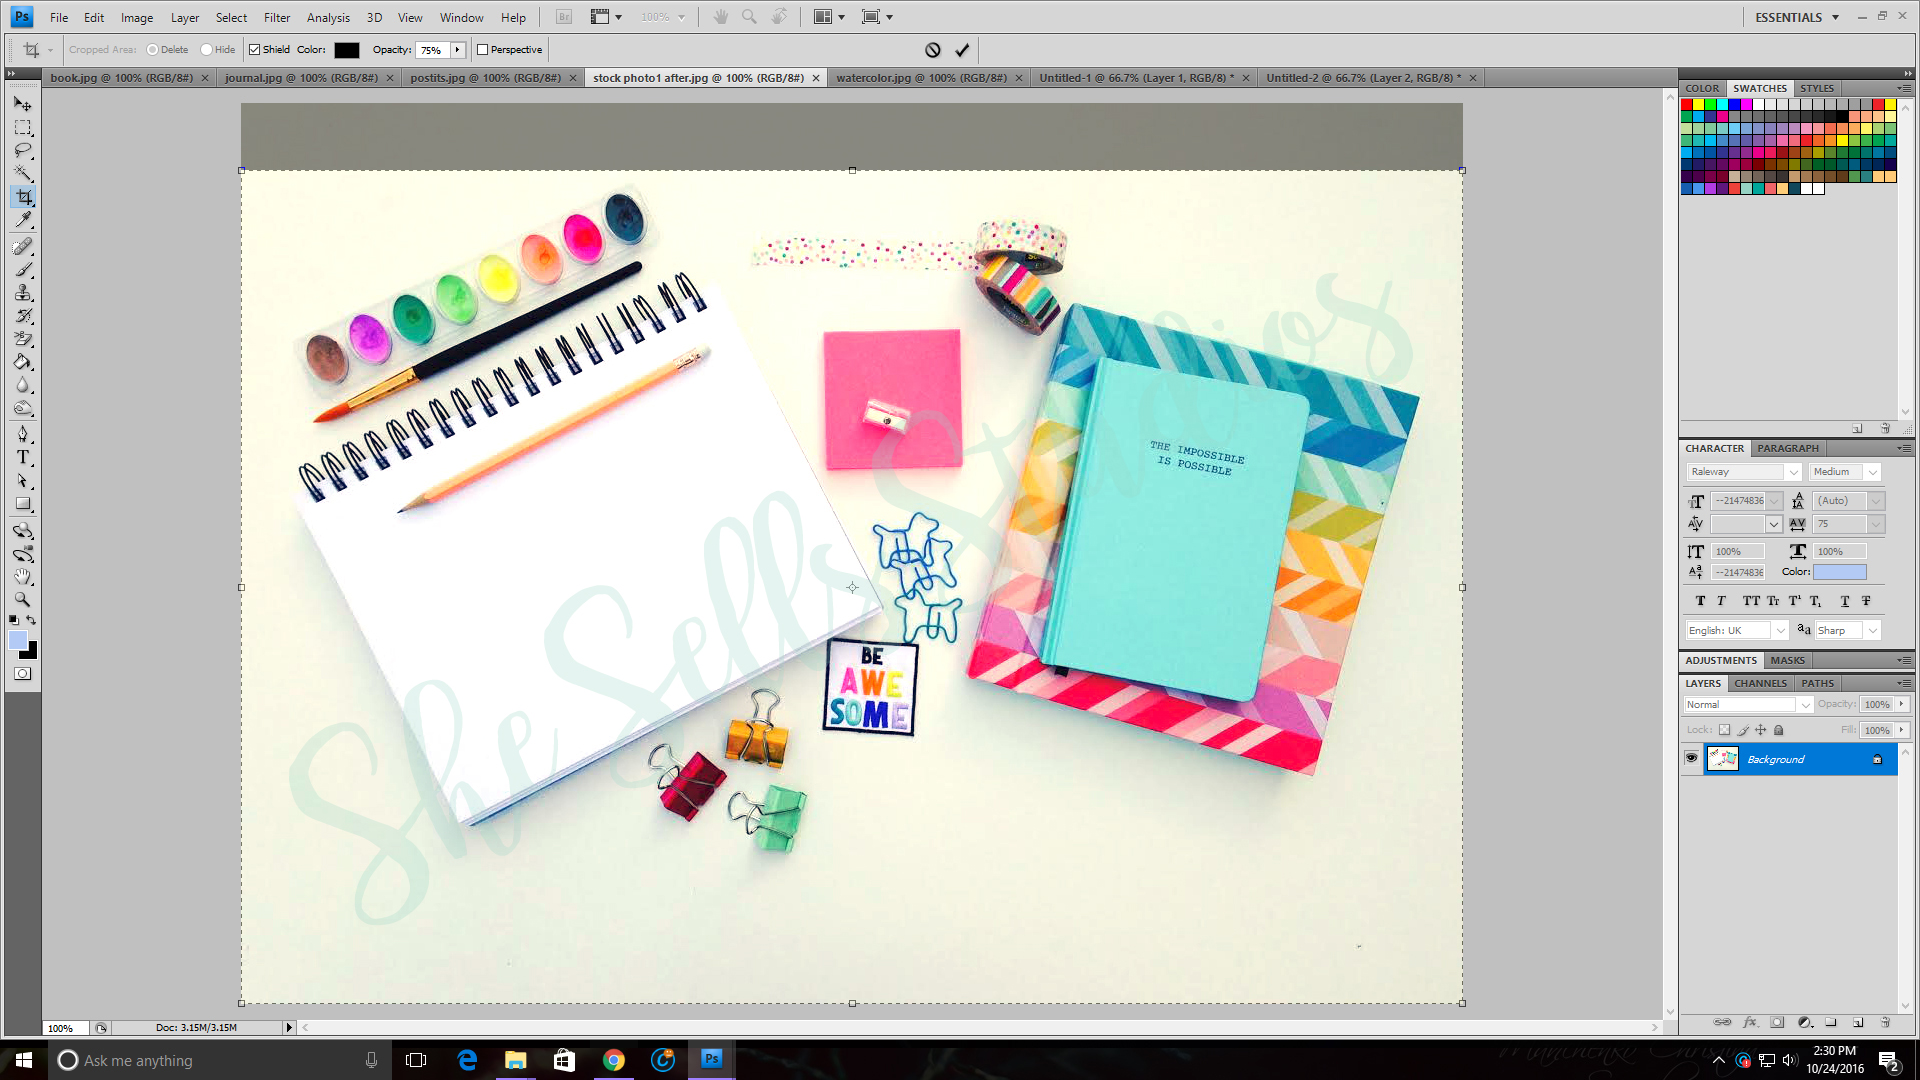
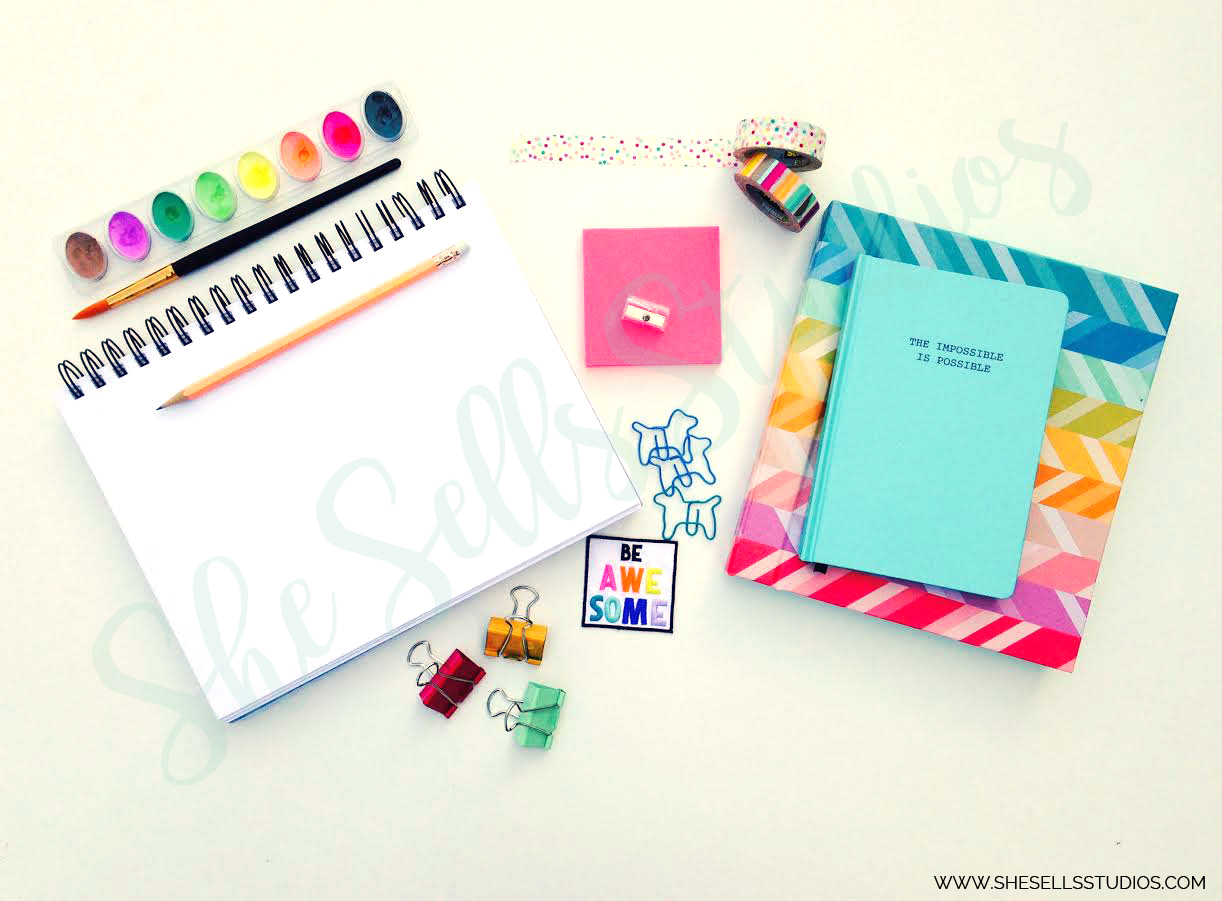
Social & Creative offers styled stock photography for small business owners and bloggers through a membership site! What makes us unique is that all our photos are super feminine i.e. not all pink which I find most of them are.


Tell us about your product.
What excites you the most about your item? What are the benefits of your product? What makes it unique? What is your favorite feature?

I am super excited about our product! As someone who works in social media I know I can create images for my clients that I will not find on other stock photography websites. Social & Creative also offers custom stock photos, which makes us different. If you have a specific brand colour or product we are able to set up a custom photo shoot for you. We will deliver your images via dropbox and they will be completely branded to your business.

Describe what your brand stands for.
Ex: honesty, quirky, adaptable, smart …

At Social & Creative we stand for visual awareness if that even makes sense. We want our photos to speak to your brand, business and readers so we strive to make our photos different and offer the option of a custom shoot.


What was/is your biggest struggle in business?
We all know running a business is NOT a bed of roses. What was/is your biggest thorn in the side? …

In our experience the biggest struggle is managing expectations. It is easy to get ahead of yourself and start thinking of all your future plans. Ania and I have learned to live in the moment. Motherhood taught us that! We need to take this business one day at a time, one photo at a time and one sale at a time.


What do you consider your greatest achievement?
Could be reaching a sales goal, working with a particular company, business growth, etc…

To date our biggest achievement would be being featured in the March box of Sparkle Hustle Grow which is a monthly subscription box for female entrepreneurs.


How did you figure out how to price your items?
Did you research or do you have a calculation?

Ania and I did a lot of research and noticed a gap in the marketplace – there were no (or very little) stock photography sites in Canadian dollars so we are using that to our advantage!


How do you market your products?
Do you use any Social Media Platforms? Do you promote your products locally? 

We use Facebook and Instagram to market and will be launching our Pinterest shortly. Our other avenues of marketing are participating in giveaways and guest posts! Attending conferences and networking in our area are also things we plan to do.


Did you have any doubts when you started your business?
How did you overcome them?

At the beginning when we took our first photos the doubt was, “Are these good enough?” We quickly turned that around by posting them to social media and recieving such an amazing response!


If you were to start all over again, would you do anything differently?
If so, what advice can you offer to others?

Not at all!

Social & Creative Headshot

become-a-featured-business


Our goal is to help inspire, teach and learn from other entrepreneurs. If you feel you can share some insights that have made you successful and are interested in your business being featured, please fill out our Feature Business Questionnaire.

It will be up to our discretion if we use your business in a post.

SaveSaveSaveSave

SaveSave

SaveSave

A Quick & Easy Way to Brighten Your Styled Stock Photo

A Quick & Easy Way to Brighten Your Styled Stock Photo

business-blog-pinterest-3

Hello friends! Today is my day to share my awesome styled stock photo for our challenge. I’m so excited to share what I came up with and to share a fun trick that may help you with your styled photography.

I going to first come out and say that I’m a graphic designer, not a professional photographer. I like to take pictures as a hobby, but I feel like I am more of an average photographer. And even though I have a professional camera, given to me by my dad when he bought his new one, I usually use just my iPhone.

Earlier this week on our Instagram account, Rae has shared some awesome tricks to improve your photography using an iPhone. I haven’t tried them out yet, but I wish I knew about them before the challenge!. (Very sneaky, Rae!). 🙂

As I mentioned in my post about light boxes, I wanted to create a styled photo that was bright and cheerful. When I see those types of styled photography out in Webland, I am immediately drawn to them. So I knew I wanted to have a clean, white background with colorful objects to showcase. Also, since I am a graphic designer and illustrator, I wanted to give it a more artistic feel. I have found it hard to find styled photos that I could use as a creative.

I tried using my light box techniques that I learned and talked about, but I kept getting a shadow that I didn’t like. And since it was a nice day out (and I am a perfectionist). I took all my pretties outside to photograph.

Stock Photo Challenge

Now, I like this photo as it is, but what if you want a brighter photo? Thankfully, since I work in Adobe Photoshop a lot, I know of a quick and easy way to brighten up your shots in Adobe Photoshop. 

  1. Open your photo in Photoshop.Stock Photo Challenge
  2. Go to Images > Adjustments > Levels (or control/command L)Stock Photo Challenge
  3. Click on the white eye dropper in the Levels window. Now with the eye dropper still selected, click on the whitest part of your photograph (I clicked on my drawing pad). Ta-da! Your image should brighten up automatically! Stock Photo Challenge
  4. Now all you need to do is crop your image, save and you are done! Stock Photo Challenge

Below is the finished photo after I brightened it. I left the drawing pad blank and left some blank space on the bottom so I can change add images and text on it as I go.

Stock Photo Challenge

Thank you for joining us this week! Please don’t forget to vote for your favorite styled stock photo (mine) on Saturday! We are all pretty competitive and bragging rights is a pretty awesome prize among us all! 🙂

– Jenny

The Secret to Creating a Styled Stock Photo

The Secret to Creating a Styled Stock Photo

business-blog-pinterest

Hello Everyone! I’m Krista and I’m taking over the She Sells Studios blog and Facebook page today as part of the Stock Photo Challenge. Please check out my introduction video below and don’t forget to “vote” for my stock photo by liking my posts! -Krista
How to make and use a DIY Lightbox

Creating your own light box for still or stock photography is very easy and inexpensive. For less than $5.00, you can light your products like a pro. Check out my How To video below.


https://www.youtube.com/watch?v=9LF2PmmDdTQ

Now that you have created a light box, you need to know how to use it. This tutorial by Tuts+ gives a great explanation of how to use a light box properly.
Natural Lighting
You don’t have to have a light box to create great images. Using natural light and some resources from around your house, you can easily create a great image.
Arranging a Stock Photograph

When it comes time to arrange a stock photograph, you have to play around with your objects. I found various office supplies from around my own office to use for this challenge. Since I happen to love aqua and mint, most my objects grouped nicely. I’ve created a video of how I grouped and layered objects to create a stylized stock photo.
Finalizing the Image
When I was in college, I would use my school’s Adobe Photoshop resources. When I got older, I realized that owning a full version of the software didn’t make fiscal sense, so I went to the next best option, Photoshop Elements. There are many resources available to learn how to use the program and most of the introductory information translates well over to Adobe Photoshop Elements. I would highly recommend Scott Kelby’s books if you need a way to start learning how to use the software.
Stock Photo
photoHere is my final image I created using the information I posted today. It was my first try creating a stock photo, and I’m glad She Sells Studios gave me the motivation to give it a go. Thank you to Rae and Jenny for the opportunity to talk with you today, and don’t forget to “vote” for my image by liking my picture! Thank you!

photo

Check out more of Krista’s projects on her blog: The Dabbling Crafter.

How to Build Your Own DIY Light Box

How to Build Your Own DIY Light Box

79b8b575ad61917ebf9204faecd41c9a

empowering others in businessAs you may be aware, the girls here at She Sells Studios are taking on a challenge to create our own styled stock photography. We all have different photography skills, two of us are experienced photographers and the rest of us are more point-and-click, every day photographers. While I am one of the latter, I am also very competitive. Due to this, though we won’t win any prizes, we will win bragging rights (and that’s good enough for me.)

To start this styled stock photo challenge, I did some research that most photographers may already know. As a result, I know that for my photo I want it to be bright, fun, and cheerful. That’s my personality and what I love seeing when I’m out in the land of the Web. After some research, I also realized how important my lighting will be since it directly affects the look of my photo.


Many photographers recommend taking pictures using natural light. Natural light will help reduce editing issues in Photoshop. Also artificial lighting, I have noticed, casts weird colors on the finished photograph. During my research I read that taking the photograph outside on a sunny day works best. Unfortunately, sometimes going outside isn’t an option. Since this may not be an option for me I did some more research. As a result, there are several options I found that will help you get the best lighting for your photographs.

Lighting Options

The first option is super easy. It’s probably what I will be using for our challenge. Allison for Wonderlass recommends using only a piece of white foam board to help reflect the natural light onto the object you are photographing. She also recommends taking the photo earlier in the day when it’s bright and to also shoot by a window. Finally, she turns off all the indoor light to remove the artificial lighting.


light box


This is my set up based on Allison’s post. To the right, which you can’t see is a window. I turned off the interior lights and had the light shine right on that foam board to the right.


light box


And ta-da! This is how the photo turned out when I was finished. I didn’t use any fancy cameras (even though I may for the actual challenge), but instead just used my iPhone.

Another Option

A light box (or tent) also works great. A light box is a container with one side open and has translucent sides to help diffuse the light that’s coming from multiple sources. It allows for even distribution of the light and nearly shadow-less lighting.

You can buy a light box online for $30+ or you can make your own. When you buy one, you typically will get the light box, light bulbs, light stands, a tripod, and also fabric backdrops. If you build your own, you will need the light box, at least two posable light sources, light bulbs, and some poster board or fabric for your backdrop.

How to make a DIY Light Box

Making a DIY Light box is pretty simple. I found a couple websites to help you find the best one to work for you.

The first source is from WikiHow. They show step by step how to create an easy DIY light box with nothing more than a cardboard box, white tissue paper or muslin fabric, some matte black poster board, and a white poster board backdrop.

Light Box

WikiHow.com Step by Step to Making a Light Box


There is another light box that is even easier. Quirky Oak Artisan Jewelry posted a unique solution for a super easy and inexpensive light box. You don’t have to cut cardboard or fabric. All you need, is a clear storage container and then some poster board for the background.


light box


I used some of the drawing paper my kids use that comes on a roll and some tape to just adhere it to the storage container (otherwise, it kept rolling up on itself). If you decide to use poster board, I don’t think you will even need the tape.


light box


And this is the final photo. I’m super impressed and love how easy it was to set up. Again, I just used my iPhone for this image, but I’m sure if you used a more professional camera, you can get an even crisper image.

You will still need to edit your photographs in Photoshop or another software (like PicMonkey) when finished. You can adjust the tone, color, brightness and more in whichever software you are using. I prefer Adobe Photoshop. In the end though, getting the photo to look its best before you edit will help make the whole process easier.

I can’t wait to try these different ideas to see what works best for my styled stock photograph. You know, the winning one. ;D

-Jenny


What Exactly is She Sells Studios?

What Exactly is She Sells Studios?

Introducing She Sells Studios…

empowering others in business

She Sells Studios was formed in 2016 by a group of female entrepreneurs. The main goal was to empower entrepreneurs through blog posts, advice, and affordable services to assist others in business. These services range from; graphic design, website design, social media management, business coaching, product mock-ups, photography… and so much more. She Sells Studios also has a Facebook Community where business owners can connect and support each other. We would love to have you join us!

While we are a newer business, we are not new to business. We are very excited about putting our expertise together to help other entrepreneurs achieve their dreams. Our ultimate goal is to open a physical office that will serve as an incubator and provide support for female owned businesses. While we are growing and striving to reach our goals, we would love to have your support and here what types of things you need help with.

Copy Protected by Chetan's WP-Copyprotect.

Pin It on Pinterest