3 Must Know Tips to a Cohesive Social Media Brand Strategy

3 Must Know Tips to a Cohesive Social Media Brand Strategy

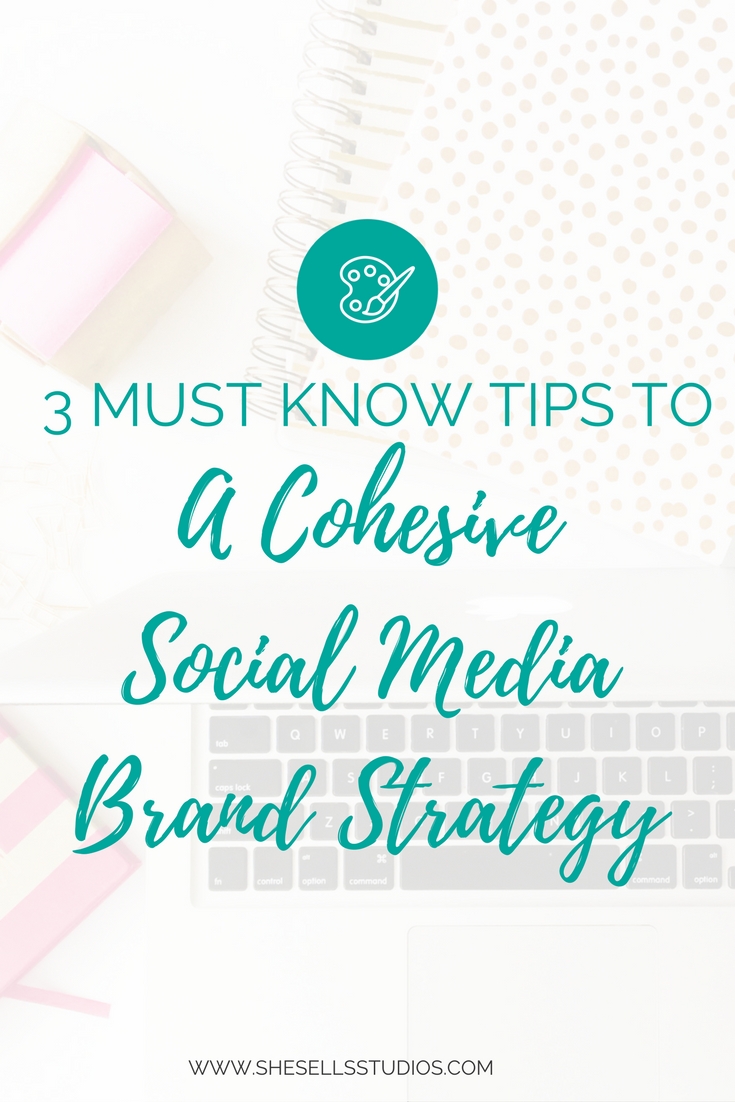
A COHESIVE BRAND STRATEGY

As a graphic designer, everything needs to be visually appealing to me. It’s important for my brand to have a cohesiveness throughout all of my marketing, especially my social media. I’ve helped create branding for social media while Rae helped manage some of our clients’ social media accounts. Over time, I have realized some people have trouble on how they can incorporate a consistent brand throughout all of their social media accounts.

Here are the top techniques to having a consistent branding in you social media accounts. 

Use the same fonts. 

It’s pretty simple. Use the fonts from your logo throughout all of your marketing and your brand will be represented.

When using fonts, try not to use more than 2 or 3 different fonts at a time. It can get confusing and hard to read.

I usually like to pair a serif font with a sans serif font. Or a brush/calligraphic font with a simple modern or simple traditional font.

M is for Monster is a preschool subscription Box company and uses social media to attract new customers. If you were to look at their social media advertising, they mostly all use the same fun child drawn font.

Use the same color palette.

Using the same color palettes in your branding, especially paired with using your brand fonts, can help to unify all of your social media marketing.

Again, try to keep the amount of colors to a limited number.

Allison from Wonderlass is great at incorporating her love of the fun and bright colors of your branding into her Instagram photos.

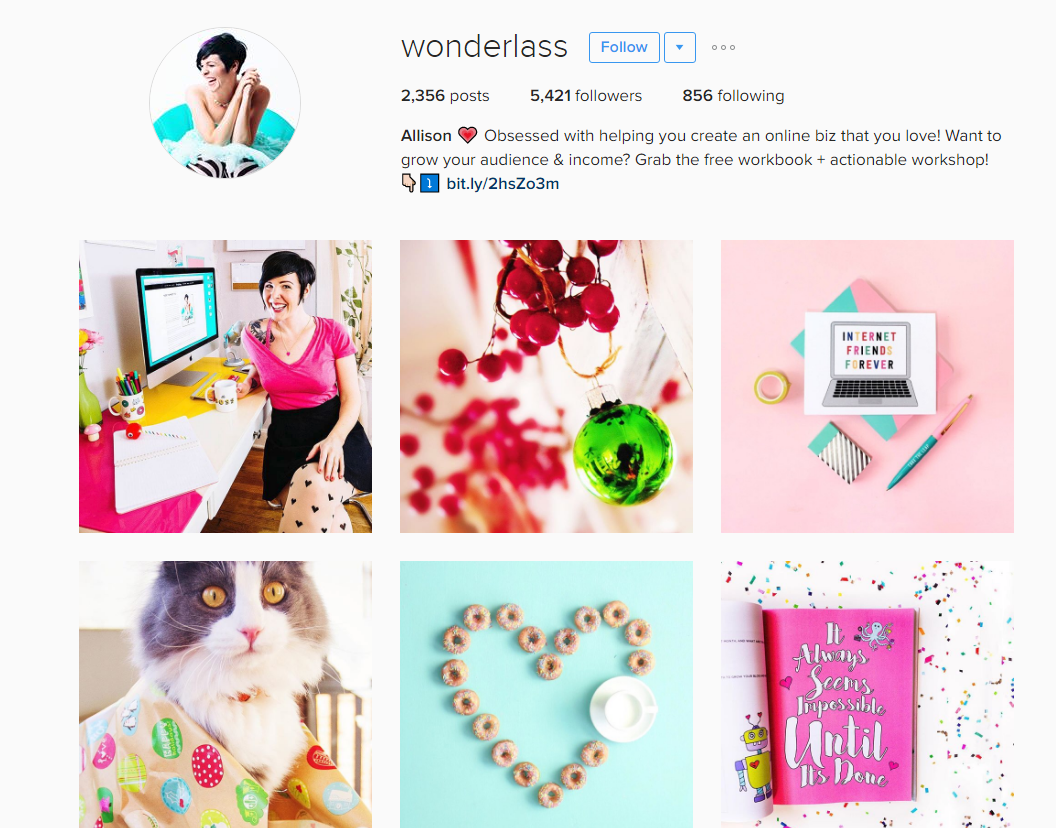
Use an image that is important to your business.

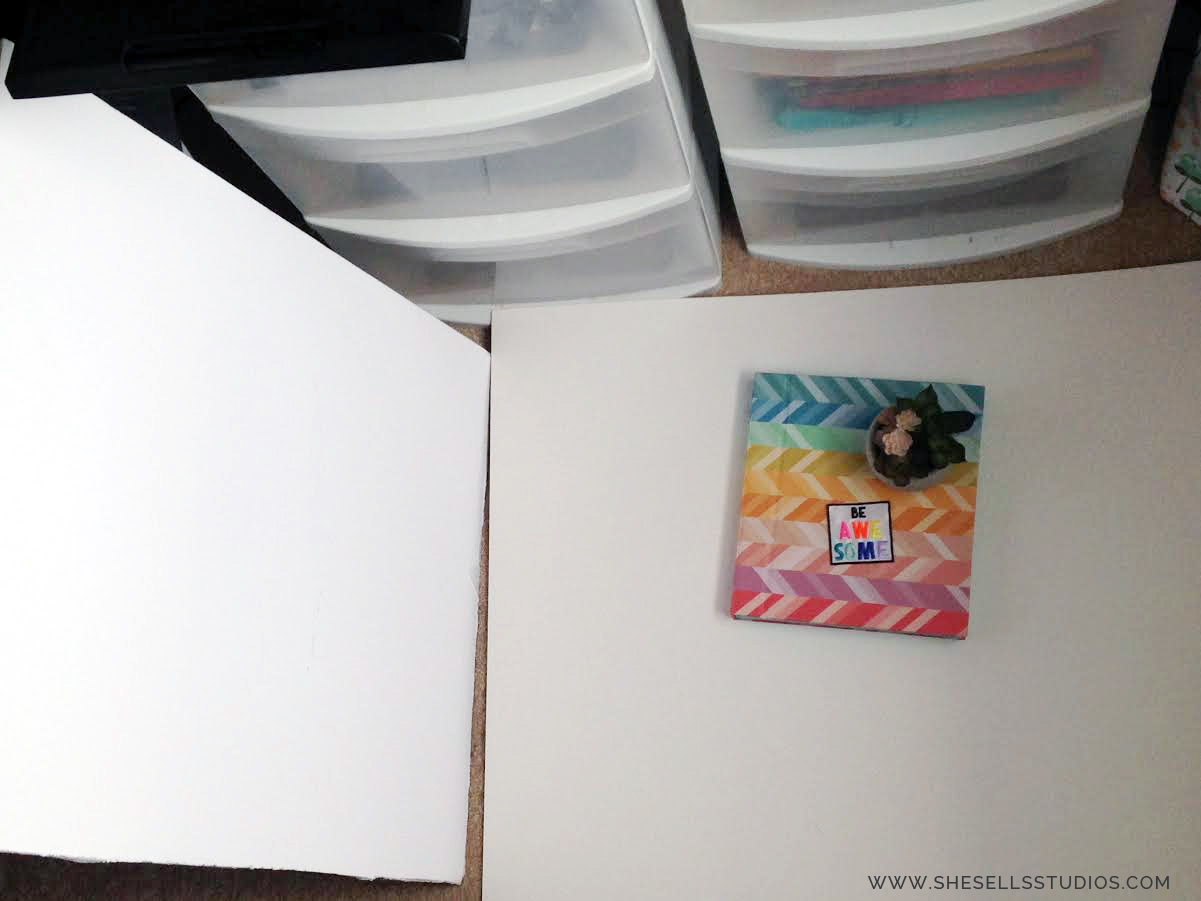
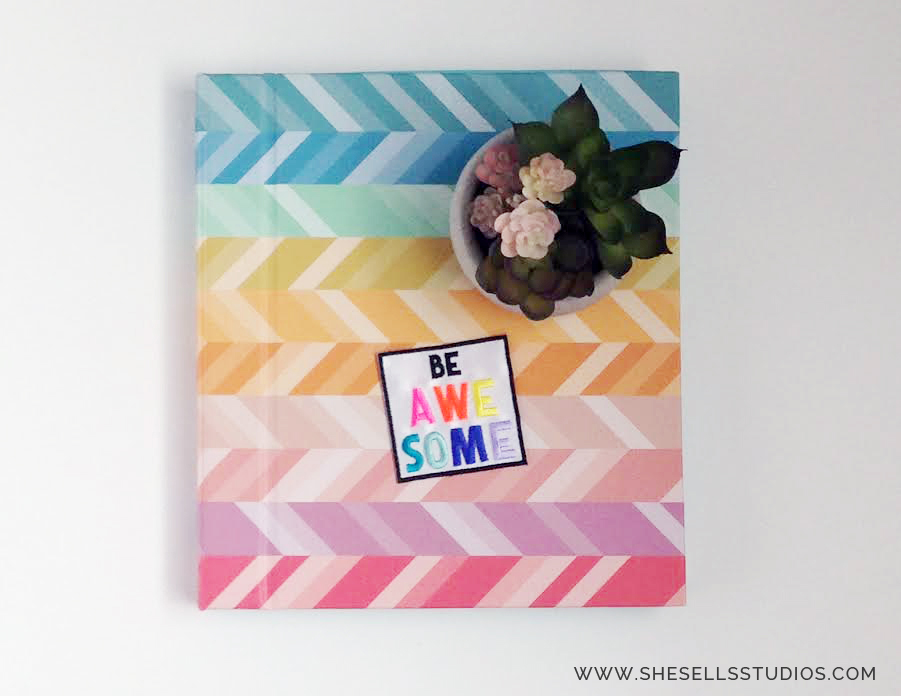
Whether it’s your logo or another image that represents your business, using a consistent theme or similar image throughout all of your social media graphics can help bring your branding together. For example, our business is She Sells Studios and our logo is a sea sell. So in some of our social media graphics, we use pictures of the beach or sea shells.

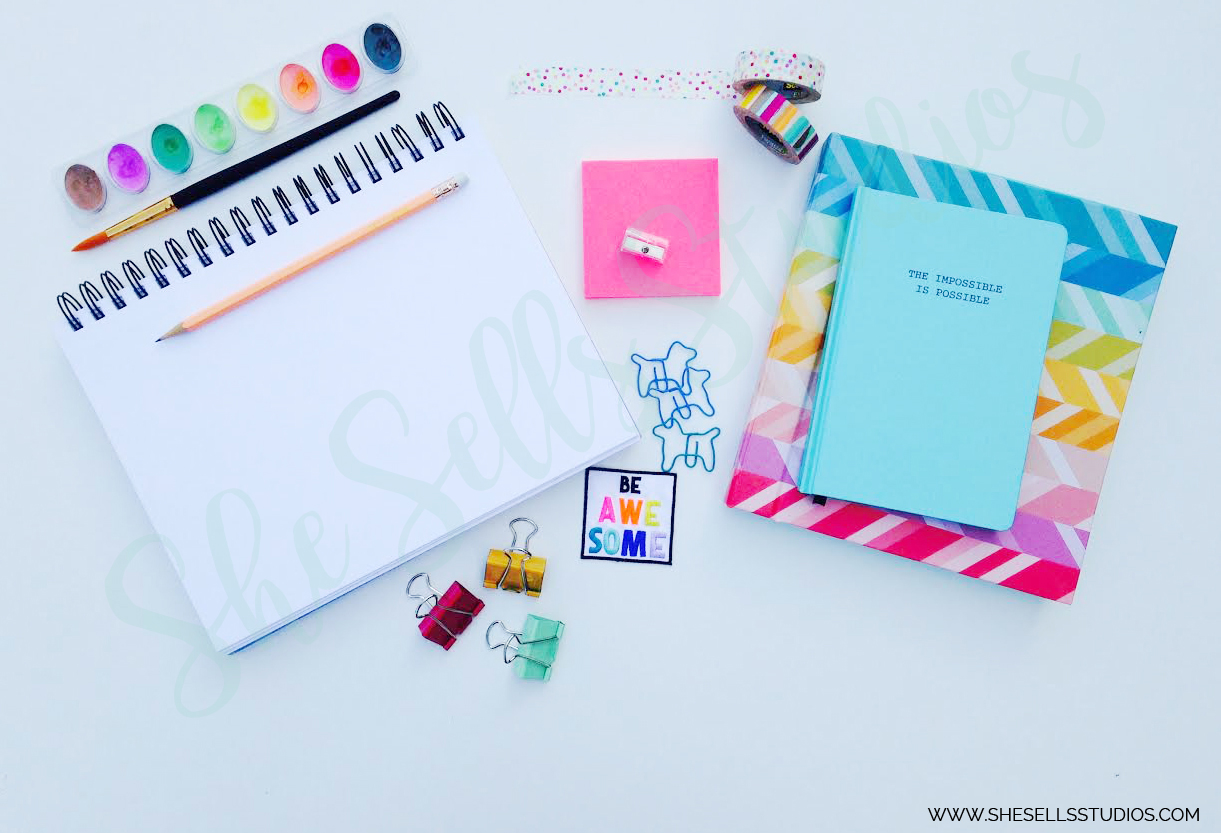
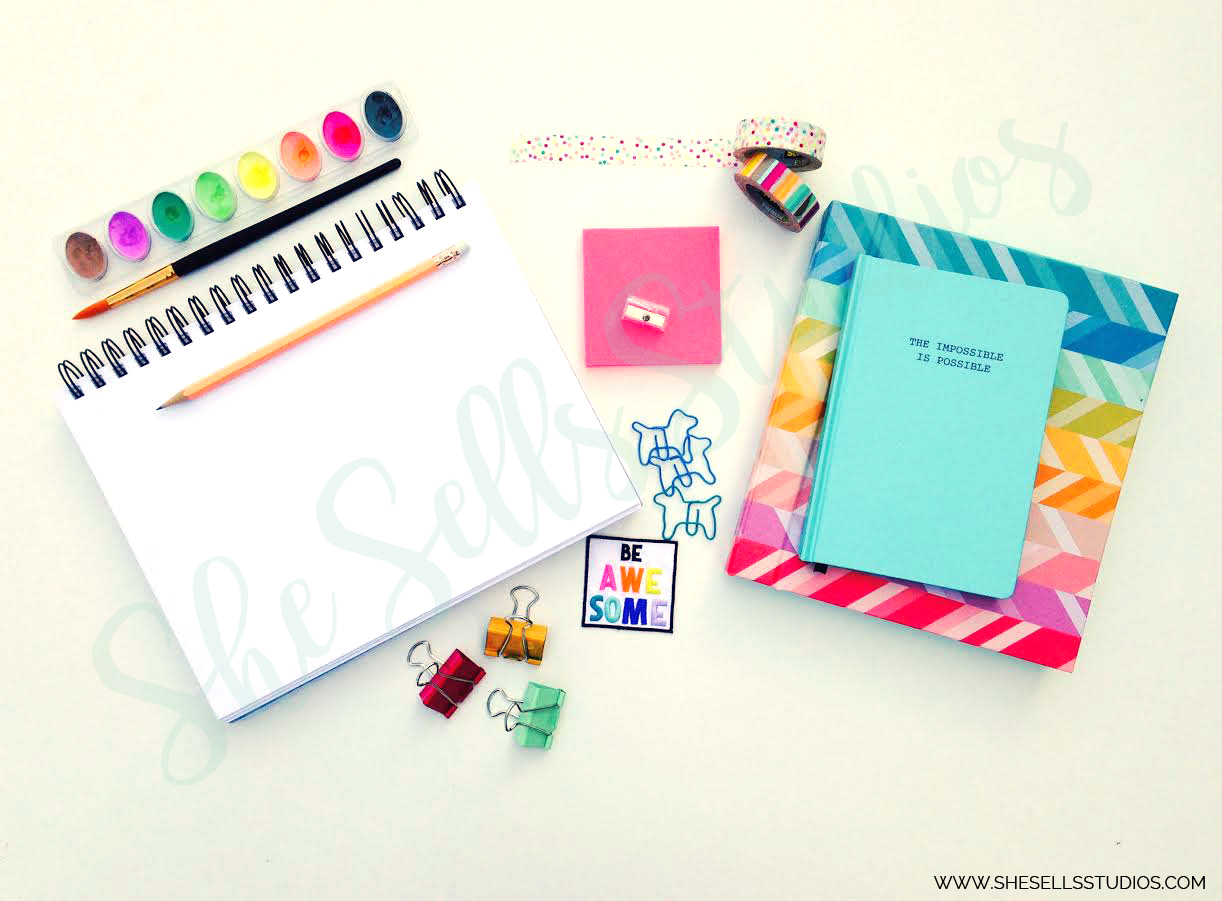
Here are some of our graphics where we incorporate the ocean, our colors, and our fonts.

Also, make sure you use the same avatar throughout all of your social media accounts. People should be able to see your logo and know it’s your company right away.


Bringing it all together.

Using these three techniques separately can help to increase your brand awareness, but what I have found that works best is using at least 2 of these tips together. To give you an idea, say you want to share a photo with your Instagram followers. If you just want to use the image, try to find or take a photo where your brand colors are already used. In addition, try to use an image where the graphic can represent your business. Or, what if you want to include an inspiring quote with the graphic. Again, you use a graphic that represents your business and pair it with your branding fonts.

What do you do to keep your branding cohesive in your social media accounts? Please feel free to share your social media accounts and your branding strategy!

A Quick & Easy Way to Brighten Your Styled Stock Photo

A Quick & Easy Way to Brighten Your Styled Stock Photo

business-blog-pinterest-3

Hello friends! Today is my day to share my awesome styled stock photo for our challenge. I’m so excited to share what I came up with and to share a fun trick that may help you with your styled photography.

I going to first come out and say that I’m a graphic designer, not a professional photographer. I like to take pictures as a hobby, but I feel like I am more of an average photographer. And even though I have a professional camera, given to me by my dad when he bought his new one, I usually use just my iPhone.

Earlier this week on our Instagram account, Rae has shared some awesome tricks to improve your photography using an iPhone. I haven’t tried them out yet, but I wish I knew about them before the challenge!. (Very sneaky, Rae!). 🙂

As I mentioned in my post about light boxes, I wanted to create a styled photo that was bright and cheerful. When I see those types of styled photography out in Webland, I am immediately drawn to them. So I knew I wanted to have a clean, white background with colorful objects to showcase. Also, since I am a graphic designer and illustrator, I wanted to give it a more artistic feel. I have found it hard to find styled photos that I could use as a creative.

I tried using my light box techniques that I learned and talked about, but I kept getting a shadow that I didn’t like. And since it was a nice day out (and I am a perfectionist). I took all my pretties outside to photograph.

Stock Photo Challenge

Now, I like this photo as it is, but what if you want a brighter photo? Thankfully, since I work in Adobe Photoshop a lot, I know of a quick and easy way to brighten up your shots in Adobe Photoshop. 

  1. Open your photo in Photoshop.Stock Photo Challenge
  2. Go to Images > Adjustments > Levels (or control/command L)Stock Photo Challenge
  3. Click on the white eye dropper in the Levels window. Now with the eye dropper still selected, click on the whitest part of your photograph (I clicked on my drawing pad). Ta-da! Your image should brighten up automatically! Stock Photo Challenge
  4. Now all you need to do is crop your image, save and you are done! Stock Photo Challenge

Below is the finished photo after I brightened it. I left the drawing pad blank and left some blank space on the bottom so I can change add images and text on it as I go.

Stock Photo Challenge

Thank you for joining us this week! Please don’t forget to vote for your favorite styled stock photo (mine) on Saturday! We are all pretty competitive and bragging rights is a pretty awesome prize among us all! 🙂

– Jenny

How to Build Your Own DIY Light Box

How to Build Your Own DIY Light Box

79b8b575ad61917ebf9204faecd41c9a

empowering others in businessAs you may be aware, the girls here at She Sells Studios are taking on a challenge to create our own styled stock photography. We all have different photography skills, two of us are experienced photographers and the rest of us are more point-and-click, every day photographers. While I am one of the latter, I am also very competitive. Due to this, though we won’t win any prizes, we will win bragging rights (and that’s good enough for me.)

To start this styled stock photo challenge, I did some research that most photographers may already know. As a result, I know that for my photo I want it to be bright, fun, and cheerful. That’s my personality and what I love seeing when I’m out in the land of the Web. After some research, I also realized how important my lighting will be since it directly affects the look of my photo.


Many photographers recommend taking pictures using natural light. Natural light will help reduce editing issues in Photoshop. Also artificial lighting, I have noticed, casts weird colors on the finished photograph. During my research I read that taking the photograph outside on a sunny day works best. Unfortunately, sometimes going outside isn’t an option. Since this may not be an option for me I did some more research. As a result, there are several options I found that will help you get the best lighting for your photographs.

Lighting Options

The first option is super easy. It’s probably what I will be using for our challenge. Allison for Wonderlass recommends using only a piece of white foam board to help reflect the natural light onto the object you are photographing. She also recommends taking the photo earlier in the day when it’s bright and to also shoot by a window. Finally, she turns off all the indoor light to remove the artificial lighting.


light box


This is my set up based on Allison’s post. To the right, which you can’t see is a window. I turned off the interior lights and had the light shine right on that foam board to the right.


light box


And ta-da! This is how the photo turned out when I was finished. I didn’t use any fancy cameras (even though I may for the actual challenge), but instead just used my iPhone.

Another Option

A light box (or tent) also works great. A light box is a container with one side open and has translucent sides to help diffuse the light that’s coming from multiple sources. It allows for even distribution of the light and nearly shadow-less lighting.

You can buy a light box online for $30+ or you can make your own. When you buy one, you typically will get the light box, light bulbs, light stands, a tripod, and also fabric backdrops. If you build your own, you will need the light box, at least two posable light sources, light bulbs, and some poster board or fabric for your backdrop.

How to make a DIY Light Box

Making a DIY Light box is pretty simple. I found a couple websites to help you find the best one to work for you.

The first source is from WikiHow. They show step by step how to create an easy DIY light box with nothing more than a cardboard box, white tissue paper or muslin fabric, some matte black poster board, and a white poster board backdrop.

Light Box

WikiHow.com Step by Step to Making a Light Box


There is another light box that is even easier. Quirky Oak Artisan Jewelry posted a unique solution for a super easy and inexpensive light box. You don’t have to cut cardboard or fabric. All you need, is a clear storage container and then some poster board for the background.


light box


I used some of the drawing paper my kids use that comes on a roll and some tape to just adhere it to the storage container (otherwise, it kept rolling up on itself). If you decide to use poster board, I don’t think you will even need the tape.


light box


And this is the final photo. I’m super impressed and love how easy it was to set up. Again, I just used my iPhone for this image, but I’m sure if you used a more professional camera, you can get an even crisper image.

You will still need to edit your photographs in Photoshop or another software (like PicMonkey) when finished. You can adjust the tone, color, brightness and more in whichever software you are using. I prefer Adobe Photoshop. In the end though, getting the photo to look its best before you edit will help make the whole process easier.

I can’t wait to try these different ideas to see what works best for my styled stock photograph. You know, the winning one. ;D

-Jenny


Copy Protected by Chetan's WP-Copyprotect.

Pin It on Pinterest