The 5 Step Plan to Killing It On Your Blog Post

The 5 Step Plan to Killing It On Your Blog Post

ff7e721f6c6f3e5f00e4efee329c5070

Okay.

You finally started your blog, and you’re ready to use that to help you land some clients.

Or, maybe you just want to blog to grow your email list or traffic. Whatever the case is, creating a blog post is more than just your writing.

Just take a look at the popular sites out there and read their posts. What makes them different from your blog posts? Let’s look at five key elements to having a killer blog post.

1. Your Writing Must Solve a Problem

One of my side projects is my Twins Mommy blog. I created it around eight months ago with the idea of writing about working from home.

I know many work at home moms find it difficult to work and take care of their family.

Although my blog’s focus moved to helping moms become mompreneurs, my content is still trying to solve a problem.

Figure out your audience and see what their problems are. You can go on Facebook, type in your niche or keyword and see what issues crop up in various Facebook groups.

For example, here are some Pinterest questions on Facebook that you can use for inspiration on your next blog post.

solve-problem

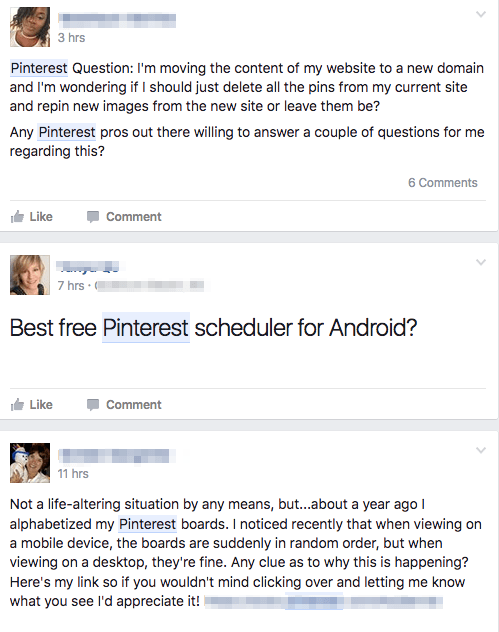
See what the most common problem is – or a unique problem – and answer that in your blog post.

By fine-tuning your blog content, you can reach a targeted audience that will follow you, read your blog and eventually buy from you.

If you have no clue who your target audience is, check out my ridiculously easy way to find your readers.

2. Create a Click-Worthy Headline

Your headline is what will stop scrollers from scrolling, passer-bys from passing by and simmers to stop skimming.

It’s what will get people to click your Pin or post and want to know more about it. But, what headlines are the best to use?

While you can use headline templates, try using these tried and true headline ideas for your next post.

Secrets

Everyone loves to gossip and tell secrets, right? And for anyone online scrolling through the Pinterest feed, if they see a pin with the word secret in it, you bet they will stop.

I mean, wouldn’t you?

Look at this pin from Brilliant Business Moms:

secret-headline

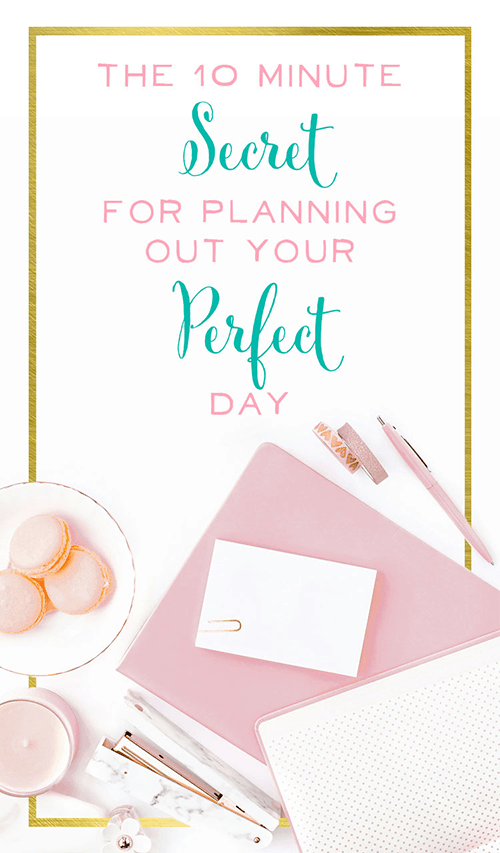
After reading this, I WANT to find out what this 10-minute secret is for planning my perfect day.

Using secret in your headline compels people to find out the actual secret.

So, give it a try for your next blog post.

Mistakes or Fears

Another way to drive clicks to your post is to capitalize on people’s fears and mistakes.

I know.

It sounds kind of sleazy, but if you can phrase it in a way that will help your readers, then it can be a very powerful headline.

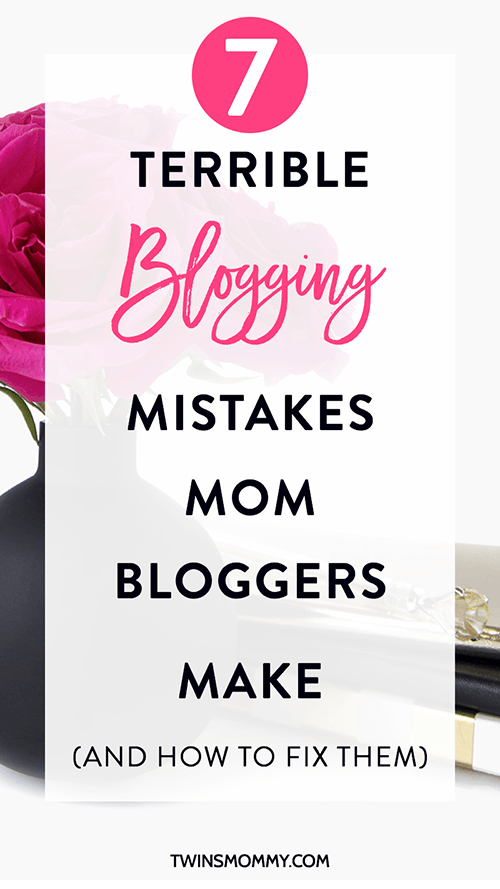
My blog post on blogging mistakes has over 200 shares and 52 comments.

blogging-mistakes-pin

Personalize Your Headline

As a freelance writer, I’ve learned that to write a post I shouldn’t use I or me. Readers don’t want to know about the writer; they want to learn about tips or learn from influencers.

But, you know what?

After starting Twins Mommy, I realized that people were coming to my blog to learn from me! This gave me the idea to create content around personal stories.

This resulted in my most popular blog post on my site with over 11k shares and 43 comments.

So, when you create a blog post, use I in your headline instead of You.

3. Format Your Blog Post for Easy Reading

Remember when I mentioned that your blog post is more than just words?

A big element to your blog writing is formatting. If you want more people to read your post and share your post, format it in a way that they can!

How?

One way is to use subheadings in your blog post. These are H1 tags and not only helps with breaking up your post and organizing it, but it also is great for SEO.

Another way is to create white space in your writing. This means making your paragraphs shorter and using images and lists to break up your text.

4. Use a CTA in Your Post

What is a CTA?

It’s a call-to-action. This means directing your audience to your post to do something.

What do you want them to do? Share your post? Subscribe? Answer a question?

Figure out your goals for your blog posts and at the end of your posts create a CTA.

For example, email marketing strategist Meera Kothand often uses a question for her CTA as a way to engage her readers.

cta

Another way to use a CTA is to ask your readers to subscribe to your email list. Creative designer Krista Rae offers a design course at the end of all her blog posts for her CTA.

krista-cta

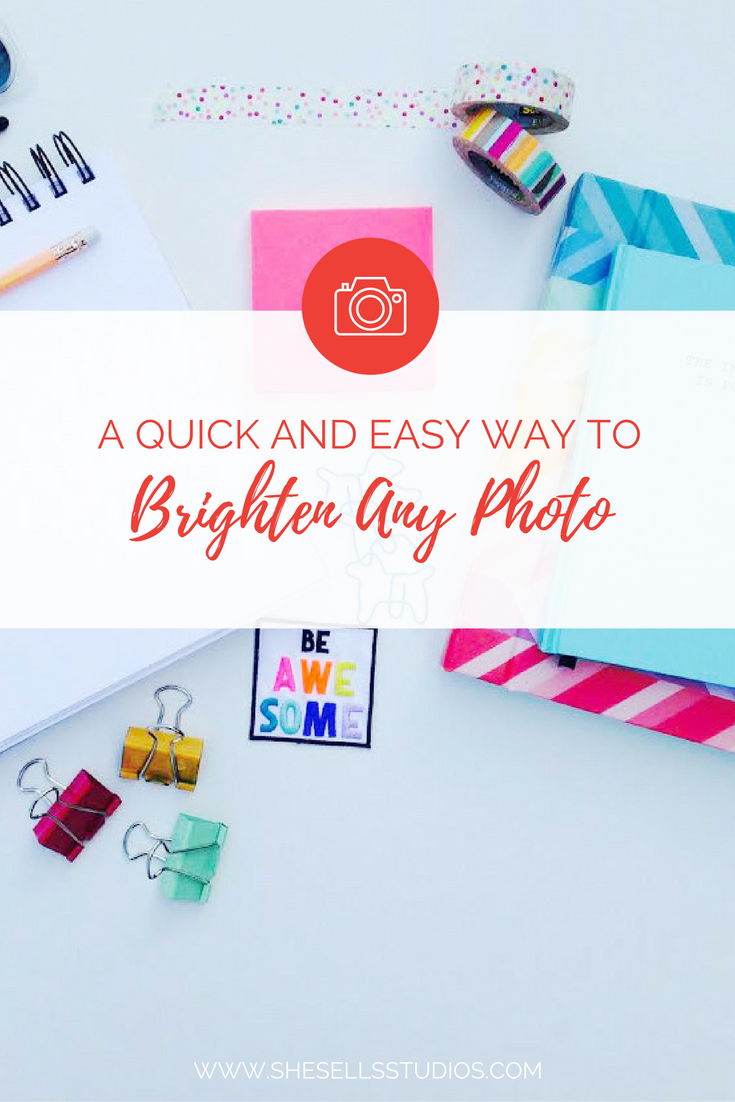
5. Create Pinnable Images

For a lot of bloggers, Pinterest is the number one source of traffic for them. It is for me at least!

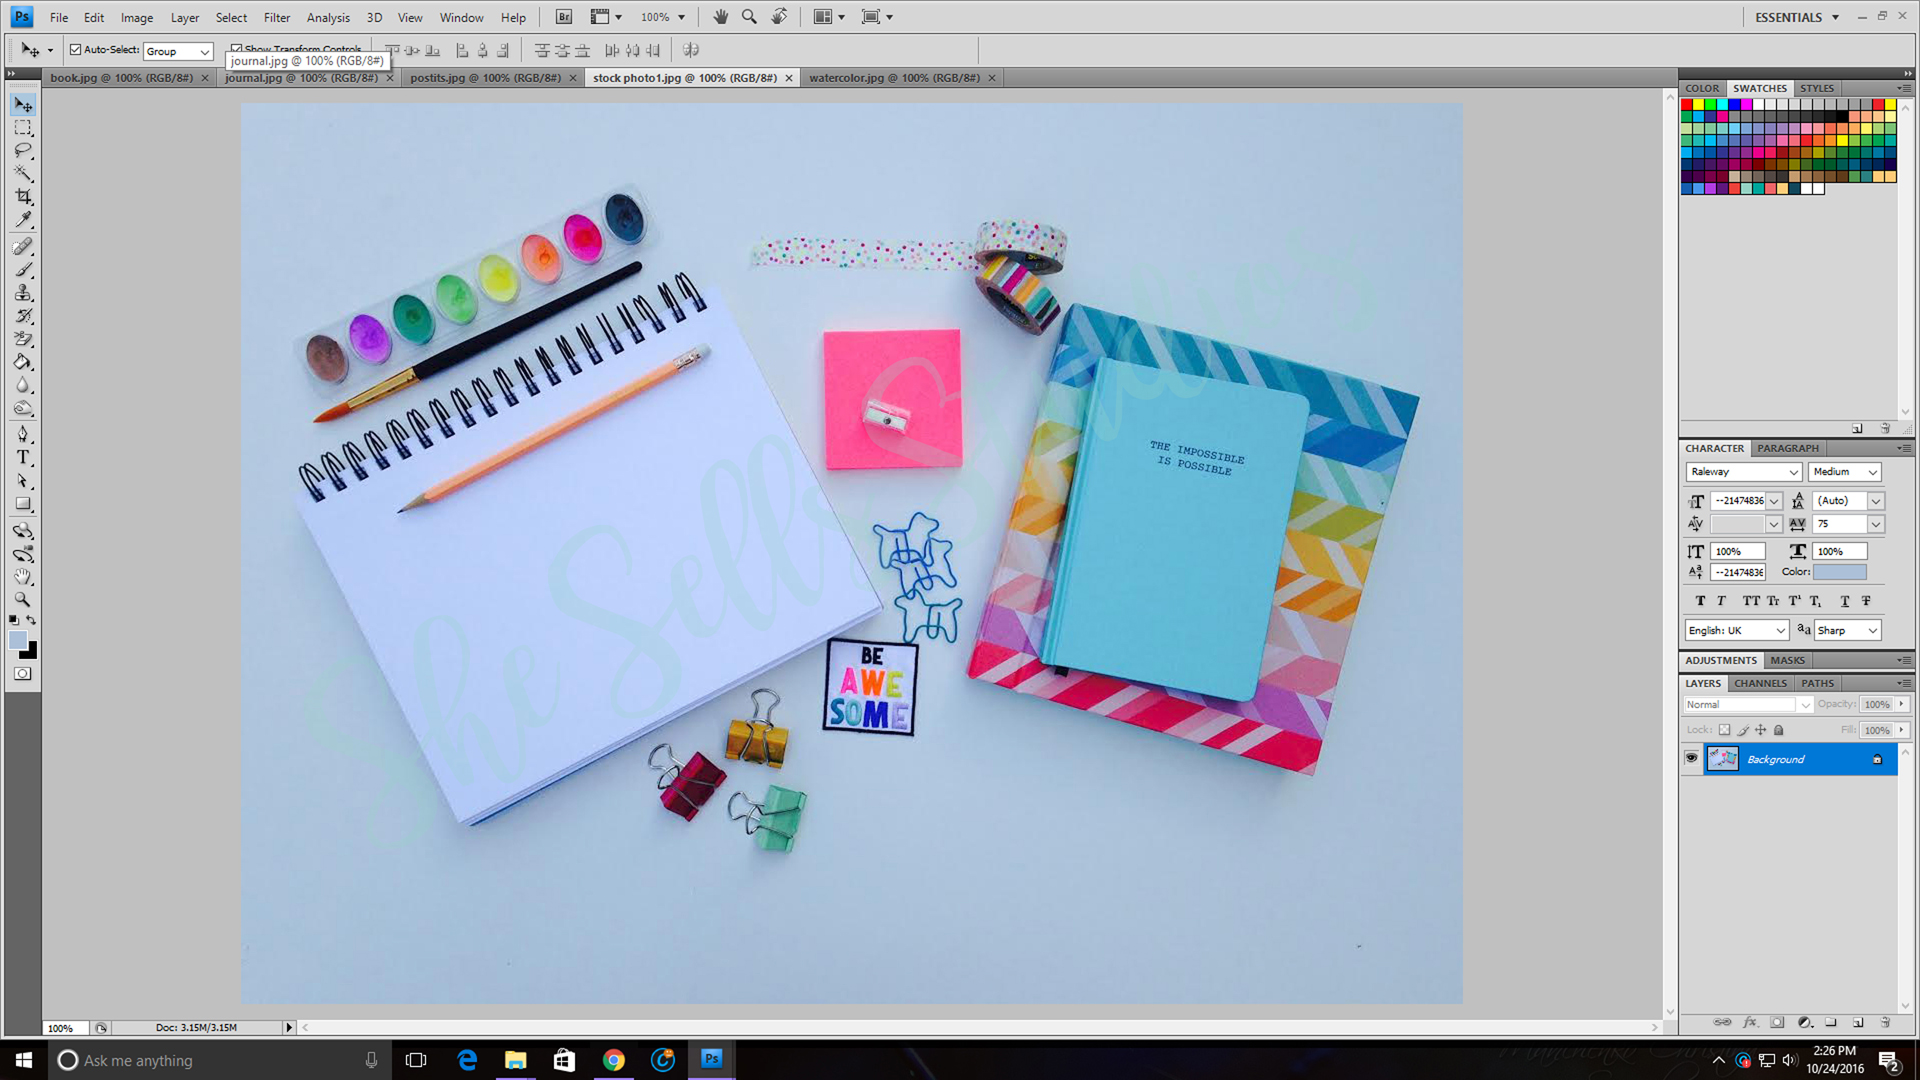
You can get started by using a free image editing tool like Canva to create your pins. Pick a template or create your own – my pin size is 800px by 1422px – and start thinking about your pin image.

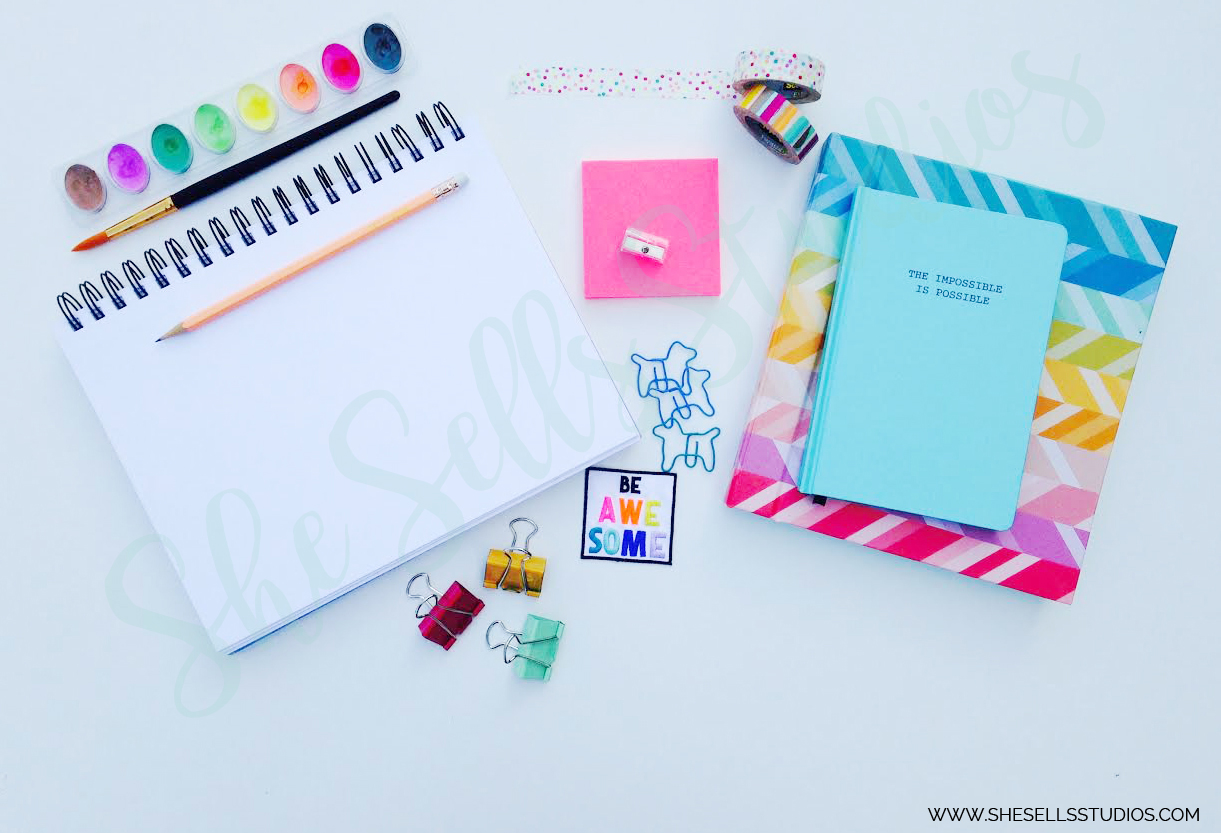
If you don’t know where to look for stock photos, check out my post on 18+ places to find feminine stock images.

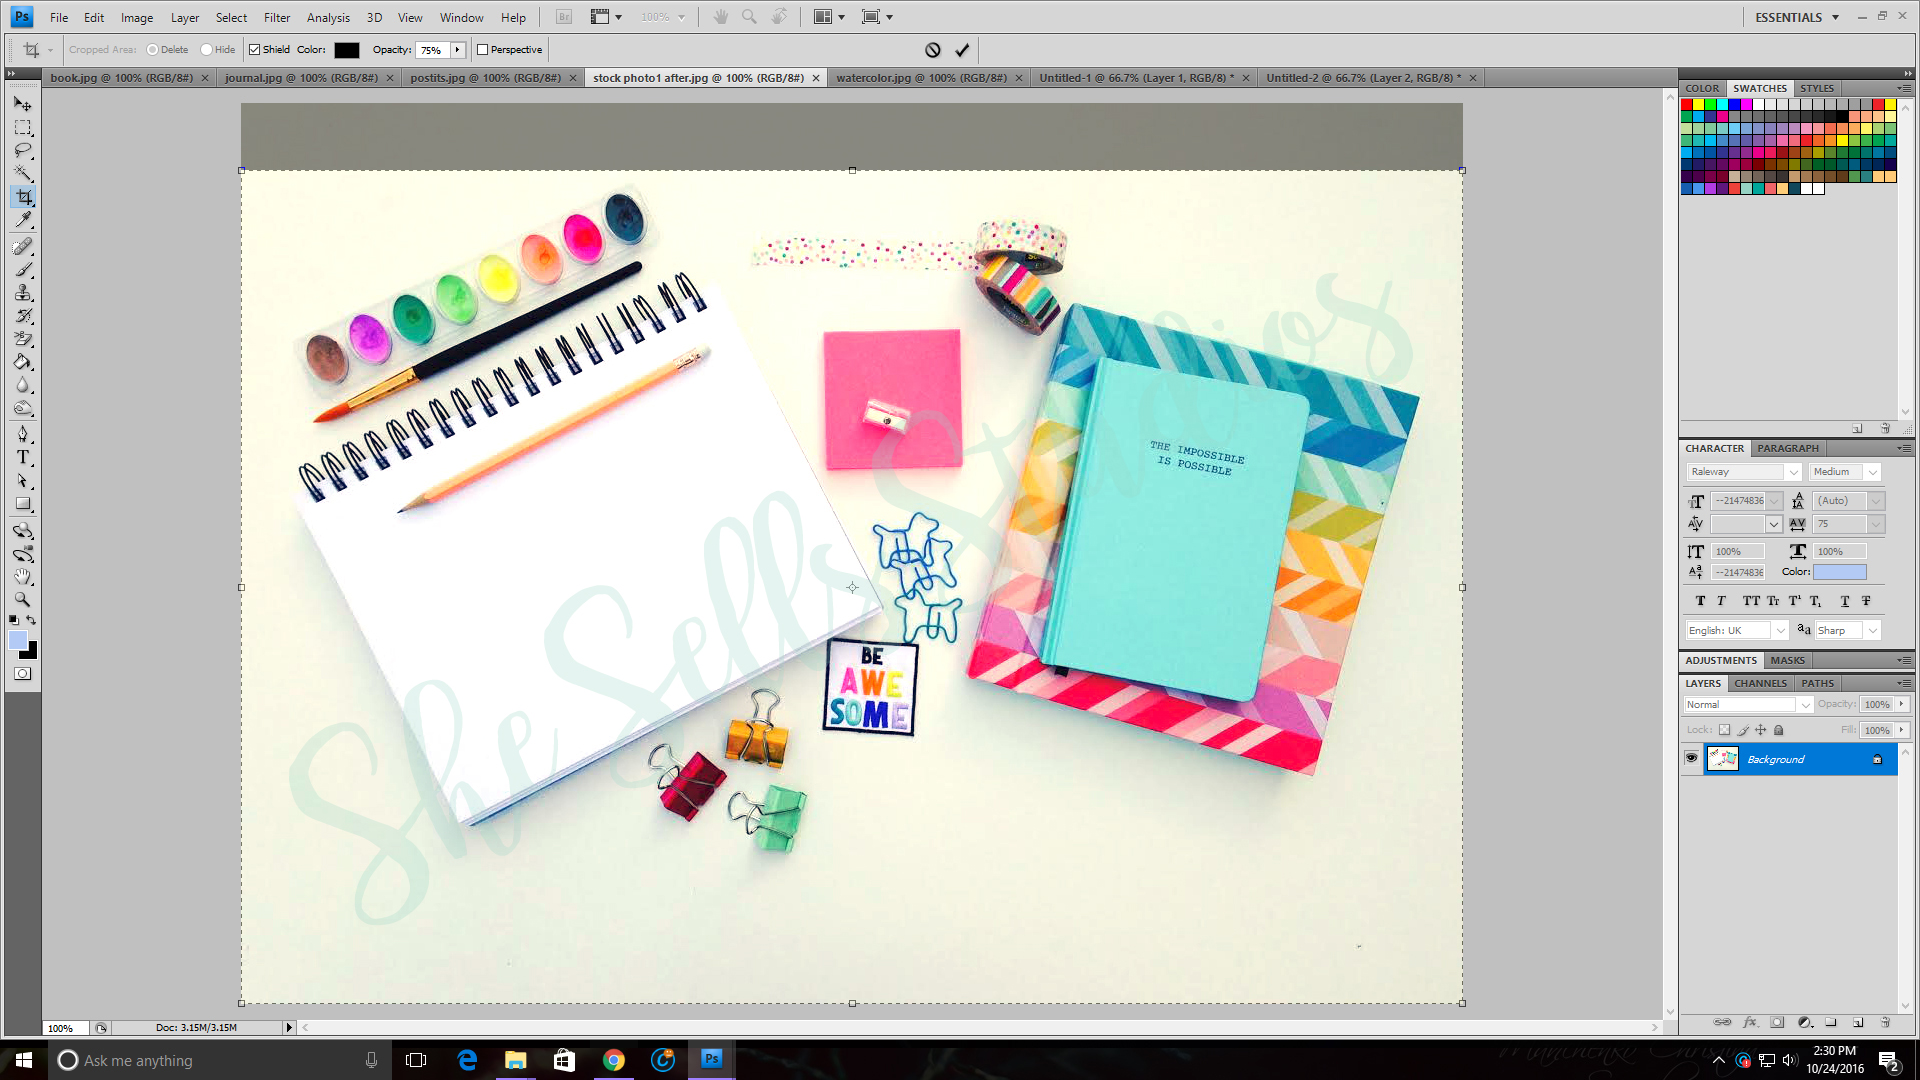
One way to make your pins stand out is to use bright, warm colors like reds, oranges, peaches, and pinks.

These seem to do well on Pinterest. Creating a border around your text box or image is another way to stand out in the Pinterest feed.

Finally, make sure to use your Pin image on your blog to encourage pinning!

Ready to Write Your Killer Blog Post?

The best blog posts incorporate most or all of these five key elements. From solving a problem a reader has to creating an irresistible headline to having the perfect Pin image, you can create killer posts too.

Over to you – what do you do to make a killer blog post?


Author Bio:

Elna Cain is a first-time mom to twins. Once she was able to get uninterrupted sleep, coffee and a few minutes to herself, she started freelance writing and never looked back. When she’s not writing for her clients or when her twins are sleeping, she’s helping other moms become mompreneurs at Twins Mommy. Follow her on Pinterest!

A Quick & Easy Way to Brighten Your Styled Stock Photo

A Quick & Easy Way to Brighten Your Styled Stock Photo

business-blog-pinterest-3

Hello friends! Today is my day to share my awesome styled stock photo for our challenge. I’m so excited to share what I came up with and to share a fun trick that may help you with your styled photography.

I going to first come out and say that I’m a graphic designer, not a professional photographer. I like to take pictures as a hobby, but I feel like I am more of an average photographer. And even though I have a professional camera, given to me by my dad when he bought his new one, I usually use just my iPhone.

Earlier this week on our Instagram account, Rae has shared some awesome tricks to improve your photography using an iPhone. I haven’t tried them out yet, but I wish I knew about them before the challenge!. (Very sneaky, Rae!). 🙂

As I mentioned in my post about light boxes, I wanted to create a styled photo that was bright and cheerful. When I see those types of styled photography out in Webland, I am immediately drawn to them. So I knew I wanted to have a clean, white background with colorful objects to showcase. Also, since I am a graphic designer and illustrator, I wanted to give it a more artistic feel. I have found it hard to find styled photos that I could use as a creative.

I tried using my light box techniques that I learned and talked about, but I kept getting a shadow that I didn’t like. And since it was a nice day out (and I am a perfectionist). I took all my pretties outside to photograph.

Stock Photo Challenge

Now, I like this photo as it is, but what if you want a brighter photo? Thankfully, since I work in Adobe Photoshop a lot, I know of a quick and easy way to brighten up your shots in Adobe Photoshop. 

  1. Open your photo in Photoshop.Stock Photo Challenge
  2. Go to Images > Adjustments > Levels (or control/command L)Stock Photo Challenge
  3. Click on the white eye dropper in the Levels window. Now with the eye dropper still selected, click on the whitest part of your photograph (I clicked on my drawing pad). Ta-da! Your image should brighten up automatically! Stock Photo Challenge
  4. Now all you need to do is crop your image, save and you are done! Stock Photo Challenge

Below is the finished photo after I brightened it. I left the drawing pad blank and left some blank space on the bottom so I can change add images and text on it as I go.

Stock Photo Challenge

Thank you for joining us this week! Please don’t forget to vote for your favorite styled stock photo (mine) on Saturday! We are all pretty competitive and bragging rights is a pretty awesome prize among us all! 🙂

– Jenny

The Secret to Creating a Styled Stock Photo

The Secret to Creating a Styled Stock Photo

business-blog-pinterest

Hello Everyone! I’m Krista and I’m taking over the She Sells Studios blog and Facebook page today as part of the Stock Photo Challenge. Please check out my introduction video below and don’t forget to “vote” for my stock photo by liking my posts! -Krista
How to make and use a DIY Lightbox

Creating your own light box for still or stock photography is very easy and inexpensive. For less than $5.00, you can light your products like a pro. Check out my How To video below.


https://www.youtube.com/watch?v=9LF2PmmDdTQ

Now that you have created a light box, you need to know how to use it. This tutorial by Tuts+ gives a great explanation of how to use a light box properly.
Natural Lighting
You don’t have to have a light box to create great images. Using natural light and some resources from around your house, you can easily create a great image.
Arranging a Stock Photograph

When it comes time to arrange a stock photograph, you have to play around with your objects. I found various office supplies from around my own office to use for this challenge. Since I happen to love aqua and mint, most my objects grouped nicely. I’ve created a video of how I grouped and layered objects to create a stylized stock photo.
Finalizing the Image
When I was in college, I would use my school’s Adobe Photoshop resources. When I got older, I realized that owning a full version of the software didn’t make fiscal sense, so I went to the next best option, Photoshop Elements. There are many resources available to learn how to use the program and most of the introductory information translates well over to Adobe Photoshop Elements. I would highly recommend Scott Kelby’s books if you need a way to start learning how to use the software.
Stock Photo
photoHere is my final image I created using the information I posted today. It was my first try creating a stock photo, and I’m glad She Sells Studios gave me the motivation to give it a go. Thank you to Rae and Jenny for the opportunity to talk with you today, and don’t forget to “vote” for my image by liking my picture! Thank you!

photo

Check out more of Krista’s projects on her blog: The Dabbling Crafter.

How to Build Your Own DIY Light Box

How to Build Your Own DIY Light Box

79b8b575ad61917ebf9204faecd41c9a

empowering others in businessAs you may be aware, the girls here at She Sells Studios are taking on a challenge to create our own styled stock photography. We all have different photography skills, two of us are experienced photographers and the rest of us are more point-and-click, every day photographers. While I am one of the latter, I am also very competitive. Due to this, though we won’t win any prizes, we will win bragging rights (and that’s good enough for me.)

To start this styled stock photo challenge, I did some research that most photographers may already know. As a result, I know that for my photo I want it to be bright, fun, and cheerful. That’s my personality and what I love seeing when I’m out in the land of the Web. After some research, I also realized how important my lighting will be since it directly affects the look of my photo.


Many photographers recommend taking pictures using natural light. Natural light will help reduce editing issues in Photoshop. Also artificial lighting, I have noticed, casts weird colors on the finished photograph. During my research I read that taking the photograph outside on a sunny day works best. Unfortunately, sometimes going outside isn’t an option. Since this may not be an option for me I did some more research. As a result, there are several options I found that will help you get the best lighting for your photographs.

Lighting Options

The first option is super easy. It’s probably what I will be using for our challenge. Allison for Wonderlass recommends using only a piece of white foam board to help reflect the natural light onto the object you are photographing. She also recommends taking the photo earlier in the day when it’s bright and to also shoot by a window. Finally, she turns off all the indoor light to remove the artificial lighting.


light box


This is my set up based on Allison’s post. To the right, which you can’t see is a window. I turned off the interior lights and had the light shine right on that foam board to the right.


light box


And ta-da! This is how the photo turned out when I was finished. I didn’t use any fancy cameras (even though I may for the actual challenge), but instead just used my iPhone.

Another Option

A light box (or tent) also works great. A light box is a container with one side open and has translucent sides to help diffuse the light that’s coming from multiple sources. It allows for even distribution of the light and nearly shadow-less lighting.

You can buy a light box online for $30+ or you can make your own. When you buy one, you typically will get the light box, light bulbs, light stands, a tripod, and also fabric backdrops. If you build your own, you will need the light box, at least two posable light sources, light bulbs, and some poster board or fabric for your backdrop.

How to make a DIY Light Box

Making a DIY Light box is pretty simple. I found a couple websites to help you find the best one to work for you.

The first source is from WikiHow. They show step by step how to create an easy DIY light box with nothing more than a cardboard box, white tissue paper or muslin fabric, some matte black poster board, and a white poster board backdrop.

Light Box

WikiHow.com Step by Step to Making a Light Box


There is another light box that is even easier. Quirky Oak Artisan Jewelry posted a unique solution for a super easy and inexpensive light box. You don’t have to cut cardboard or fabric. All you need, is a clear storage container and then some poster board for the background.


light box


I used some of the drawing paper my kids use that comes on a roll and some tape to just adhere it to the storage container (otherwise, it kept rolling up on itself). If you decide to use poster board, I don’t think you will even need the tape.


light box


And this is the final photo. I’m super impressed and love how easy it was to set up. Again, I just used my iPhone for this image, but I’m sure if you used a more professional camera, you can get an even crisper image.

You will still need to edit your photographs in Photoshop or another software (like PicMonkey) when finished. You can adjust the tone, color, brightness and more in whichever software you are using. I prefer Adobe Photoshop. In the end though, getting the photo to look its best before you edit will help make the whole process easier.

I can’t wait to try these different ideas to see what works best for my styled stock photograph. You know, the winning one. ;D

-Jenny


Are You Led By Inspiration or Motivation?

Are You Led By Inspiration or Motivation?

business-blog-pinterest-2

As most people who know me know, I have issues with insomnia. (It is 1:48am as I am writing this.)

I was tinkering on the Internet in some Entrepreneurial Facebook groups and came across a website called Answer the Public (answerthepublic.com). It was recommended for bloggers that are “stuck” in their writing. The concept intrigued me, so I decided to check it out.

When I arrived at the website there was a bald older gentleman with a white beard, black glasses and a dark gray cable knit sweater.  He stands there fidgeting, picking at his teeth and glancing around looking for something.

Below him there is a search bar that says, “Ask the Seeker. Enter your keyword and he’ll suggest content ideas in seconds.” I racked my brain for a keyword and thought, “Inspiration.” I hit the get questions button and it was like I was inside the brain of a genius.

There were circles and circles of what appeared to be randomly brainstormed topics that related to inspiration. But then I looked closer and all of these topics were not random, they were completely and thoroughly organized. Though ironically, I felt most weren’t very inspirational; until I came across Inspiration vs. Motivation. That made me stop and think.

How are inspiration and motivation different? How are thy similar? What is the feeling behind them? Does the response to them vary based on personality?

In my experience inspiration is something that is emotional. It is moving and touches your soul. It does not necessarily have an end goal. It may be a quote that speaks to you at that point in time or a story that moves you. It may not necessarily change you and it may be there just in that moment.

Motivation on the other hand could be compared to a reward. There are a series of steps that need to happen in order to reach the end goal that is being worked towards.

she sells studios bloggingWhile I picture in my head inspiration as being something that softly touches the soul. I see motivation as a tall mountain that is being conquered through a strong mindset one step at a time.

Personally, I am motivation driven. While I am a dreamer I find that I live in the reality of life and often see the world for the harshness and injustices that exist. As I write this I reflect and think that to find my ideal self I need to allow myself to let go and be led by inspiration more. Now I just need to figure out how to do that. (Maybe writing this article was the first step as I felt inspired to write and was not motivated by any external factors. Definitely a WOW moment!)

What about you? Are you led by inspiration or driven by motivation?

I would like to invite you to visit the website and then see which one out of the many questions inspires you. Please email or tag me in your inspiration. I would love to read about what piece of wisdom the seeker brought to you.


What Exactly is She Sells Studios?

What Exactly is She Sells Studios?

Introducing She Sells Studios…

empowering others in business

She Sells Studios was formed in 2016 by a group of female entrepreneurs. The main goal was to empower entrepreneurs through blog posts, advice, and affordable services to assist others in business. These services range from; graphic design, website design, social media management, business coaching, product mock-ups, photography… and so much more. She Sells Studios also has a Facebook Community where business owners can connect and support each other. We would love to have you join us!

While we are a newer business, we are not new to business. We are very excited about putting our expertise together to help other entrepreneurs achieve their dreams. Our ultimate goal is to open a physical office that will serve as an incubator and provide support for female owned businesses. While we are growing and striving to reach our goals, we would love to have your support and here what types of things you need help with.

Copy Protected by Chetan's WP-Copyprotect.

Pin It on Pinterest