
How to Build Your Own DIY Light Box
 As you may be aware, the girls here at She Sells Studios are taking on a challenge to create our own styled stock photography. We all have different photography skills, two of us are experienced photographers and the rest of us are more point-and-click, every day photographers. While I am one of the latter, I am also very competitive. Due to this, though we won’t win any prizes, we will win bragging rights (and that’s good enough for me.)
To start this styled stock photo challenge, I did some research that most photographers may already know. As a result, I know that for my photo I want it to be bright, fun, and cheerful. That’s my personality and what I love seeing when I’m out in the land of the Web. After some research, I also realized how important my lighting will be since it directly affects the look of my photo.
Many photographers recommend taking pictures using natural light. Natural light will help reduce editing issues in Photoshop. Also artificial lighting, I have noticed, casts weird colors on the finished photograph. During my research I read that taking the photograph outside on a sunny day works best. Unfortunately, sometimes going outside isn’t an option. Since this may not be an option for me I did some more research. As a result, there are several options I found that will help you get the best lighting for your photographs.
Lighting Options
The first option is super easy. It’s probably what I will be using for our challenge. Allison for Wonderlass recommends using only a piece of white foam board to help reflect the natural light onto the object you are photographing. She also recommends taking the photo earlier in the day when it’s bright and to also shoot by a window. Finally, she turns off all the indoor light to remove the artificial lighting.
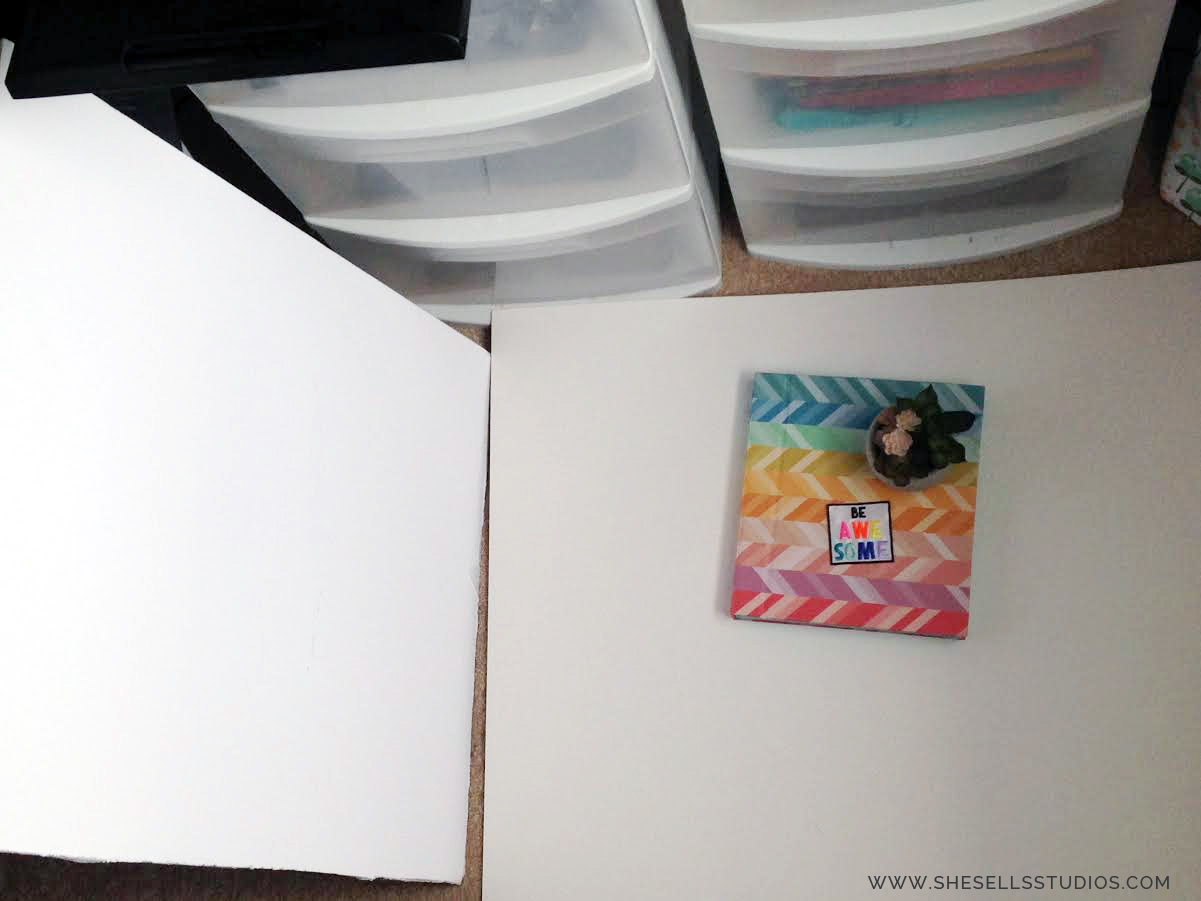
This is my set up based on Allison’s post. To the right, which you can’t see is a window. I turned off the interior lights and had the light shine right on that foam board to the right.
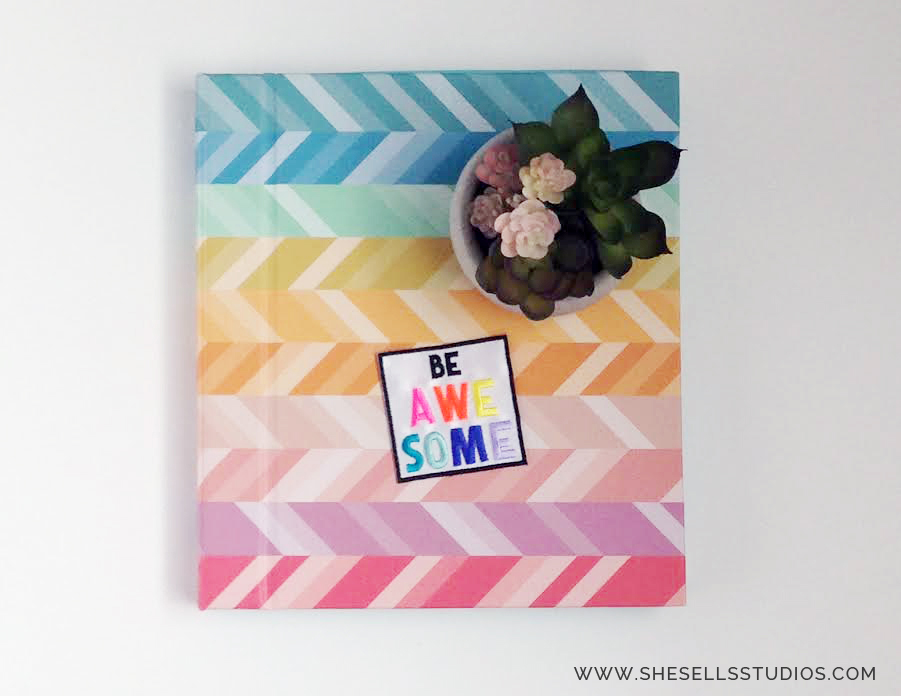
And ta-da! This is how the photo turned out when I was finished. I didn’t use any fancy cameras (even though I may for the actual challenge), but instead just used my iPhone.
Another Option
A light box (or tent) also works great. A light box is a container with one side open and has translucent sides to help diffuse the light that’s coming from multiple sources. It allows for even distribution of the light and nearly shadow-less lighting.
You can buy a light box online for $30+ or you can make your own. When you buy one, you typically will get the light box, light bulbs, light stands, a tripod, and also fabric backdrops. If you build your own, you will need the light box, at least two posable light sources, light bulbs, and some poster board or fabric for your backdrop.
How to make a DIY Light Box
Making a DIY Light box is pretty simple. I found a couple websites to help you find the best one to work for you.
The first source is from WikiHow. They show step by step how to create an easy DIY light box with nothing more than a cardboard box, white tissue paper or muslin fabric, some matte black poster board, and a white poster board backdrop.
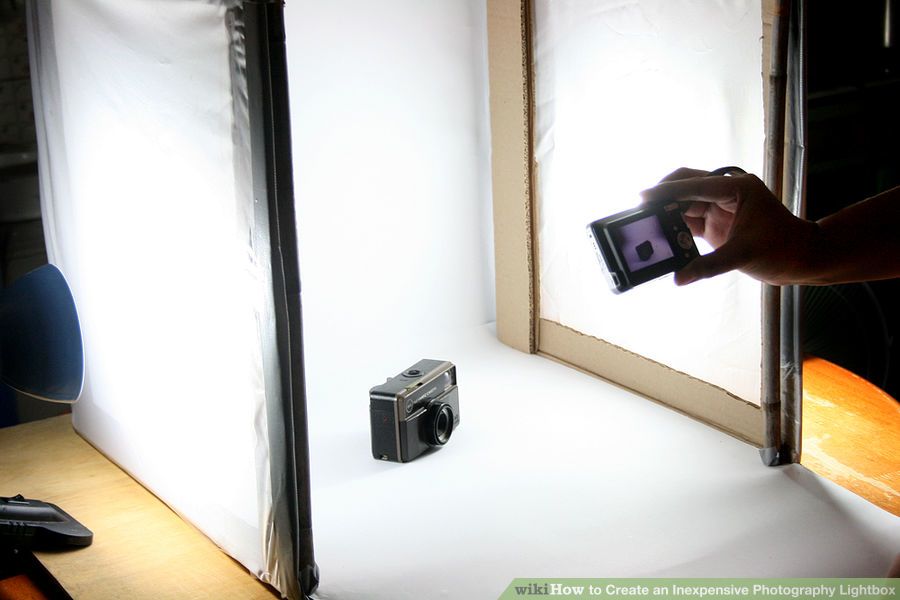
WikiHow.com Step by Step to Making a Light Box
There is another light box that is even easier. Quirky Oak Artisan Jewelry posted a unique solution for a super easy and inexpensive light box. You don’t have to cut cardboard or fabric. All you need, is a clear storage container and then some poster board for the background.

I used some of the drawing paper my kids use that comes on a roll and some tape to just adhere it to the storage container (otherwise, it kept rolling up on itself). If you decide to use poster board, I don’t think you will even need the tape.

And this is the final photo. I’m super impressed and love how easy it was to set up. Again, I just used my iPhone for this image, but I’m sure if you used a more professional camera, you can get an even crisper image.
You will still need to edit your photographs in Photoshop or another software (like PicMonkey) when finished. You can adjust the tone, color, brightness and more in whichever software you are using. I prefer Adobe Photoshop. In the end though, getting the photo to look its best before you edit will help make the whole process easier.
I can’t wait to try these different ideas to see what works best for my styled stock photograph. You know, the winning one. ;D
-Jenny


This is exactly what I need…only larger for pics of babies! Thanks for the great DIY tips!
We’re so happy these tips can help you! Thanks for your comment!