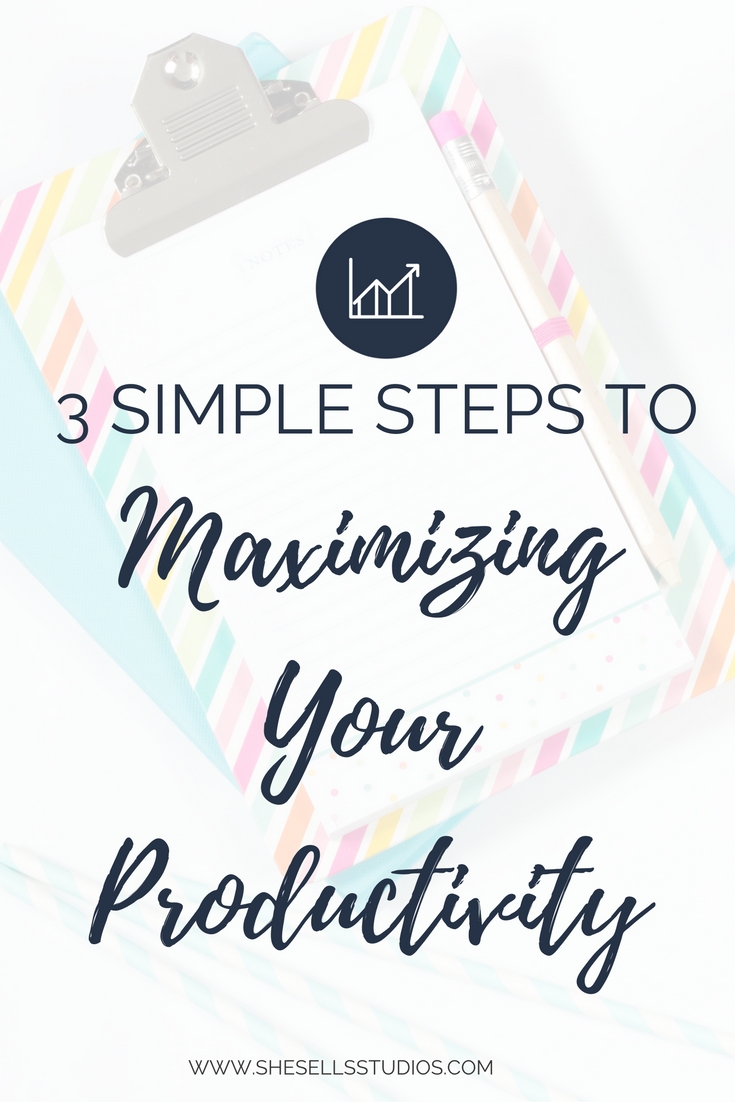
3 Simple Steps to Maximizing Your Productivity
One of my goals for 2017 is to increase my productivity. For me, a lot of valuable time was wasted in 2016 by going with the flow and spending countless hours on Facebook. (I swear Facebook is a black hole and once you get sucked in there is no getting out.)
I am excited to share the 3 simple steps I put into place to drastically improve my productivity. These steps not only allowed me to be in control of my day, but I also got more done in less time. Resulting in me spending more time with my family and less time stressed out.
What you need: Daily Planner, 1 sheet of paper, pen and a clock or timer.
I use the Brilliant Business Planner and love it. It is so much more than just a planner. It is a to do list, habit tracker, planner, journal and more. (Above is a referral link that will save you $5.00 if you want to get the Brilliant Business Planner too. Please note I will receive monetary compensation from your purchase with this referral link.)
1. List
The first tip to increase your productivity is to list what MUST get done during the week and list what you WANT to get done. I suggest two lists; one for your business and one for personal items.
Take a few minutes to do a brain dump and write down everything that comes to mind on your sheet of paper.

2. Prioritize
The second tip is to prioritize.
Go through both of your lists and determine what absolutely MUST get done in the upcoming week. These items are given first priority in your schedule.
Second priority is given to the items you WANT to get done during the week.
The items that do not have a deadline you can move to a running to do list.
3. Scheduling
The third tip is to use time-blocking for your daily schedule. This may feel very rigid at first, but I promise you will be amazed at how much time-blocking increases your productivity.
Start with your daily routine and any appointments. Be sure to block out the appropriate amount of time for the appointment and required travel.
Next, designate your working hours. Fill in your schedule with items given first priority from your lists. These top priority items MUST get done, so they need to be scheduled first in your day. (Before checking your email or any social media. You cannot get sucked into the black hole.)
When scheduling an item estimate how much time you need. For example, you MUST prepare a marketing report and estimate the report will take 30 minutes. You would then block out 9-9:30am on Monday in your planner.
After you schedule each top priority, you will schedule next the items you WANT to accomplish. Note, you do want to leave some blank space in your schedule. I leave mine at the end of my day. The blank space allows for projects that were not completed or that came up last minute.
Lastly, if you have several open spaces you can pull from your running to do list. You can also use your running to do list to fill the time at the end of your day. Those days when you are so awesome you complete everything scheduled!

Bonus Productivity Tips:
- Do NOT over schedule yourself. It will only create a feeling of overwhelm.
- Use a timer to ensure you follow your daily time blocks. (I use the timer in the clock app on my iPhone.)
- I schedule checking my email twice a day. During lunch and at the end of the day. Outside of those times I have my email program closed, so it is not a distraction.
Getting Personal
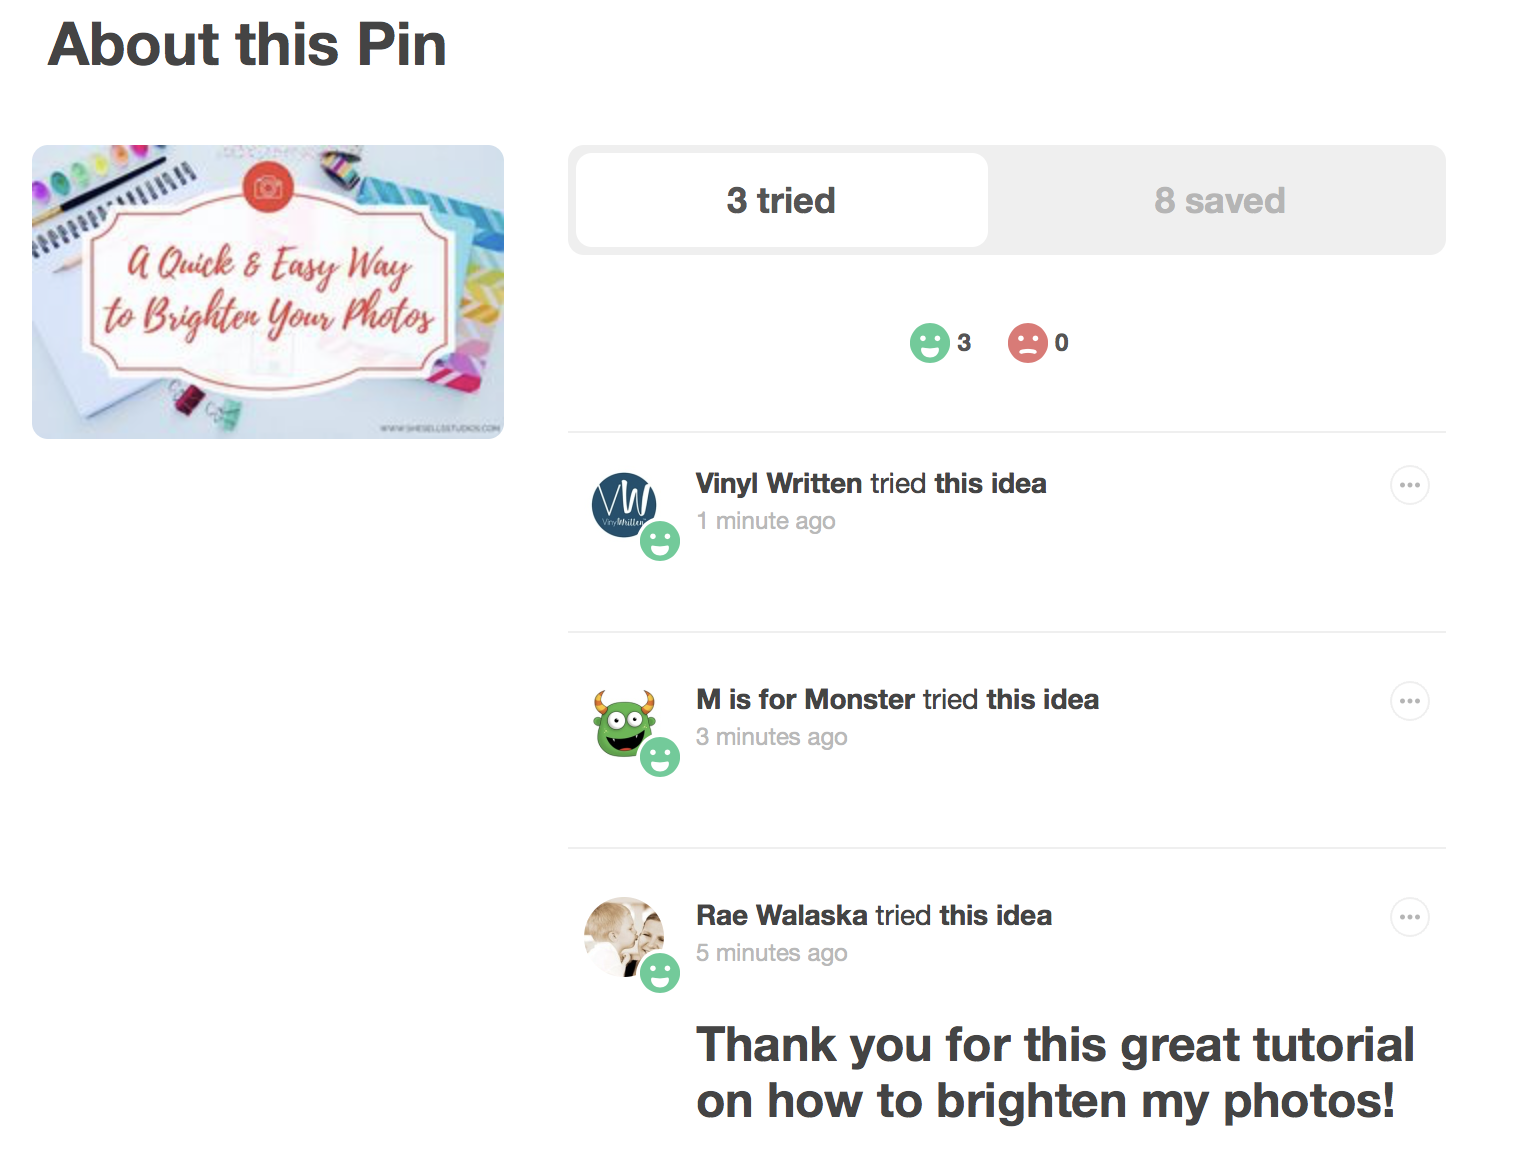
I suffer from anxiety and often become paralyzed with overwhelm. These 3 simple steps alleviate my anxiety and increase my daily productivity, while creating a happier work environment for me. I would love to hear how these 3 steps help you and if you have any additional tips to add. ~ Rae
Disclosure: This post contains the following affiliate links: http://brilliantbusinessm.refr.cc/raewalaska This means we will receive monetary compensation if you make a purchase using these links. We greatly appreciate your purchase and support of your fellow entrepreneurs.